I used to wrap our banister with the traditional Christmas garland every year, but this year I wanted to do something different. I always found the traditional garland so messy. When I would wrap it around the banister, little pieces would fall off of it and be everywhere. This new garland is so easy to put up and take down, mess free, and easier to store once I pack it away.
Here is a little tutorial on how I made them. They are super simple to make, and didn’t cost a lot of money either. Everything was from Michael’s Craft Store, and on sale. The branches were 50% off, the ribbon was 60% off, and I used a 40% off coupon for the Command Hooks.
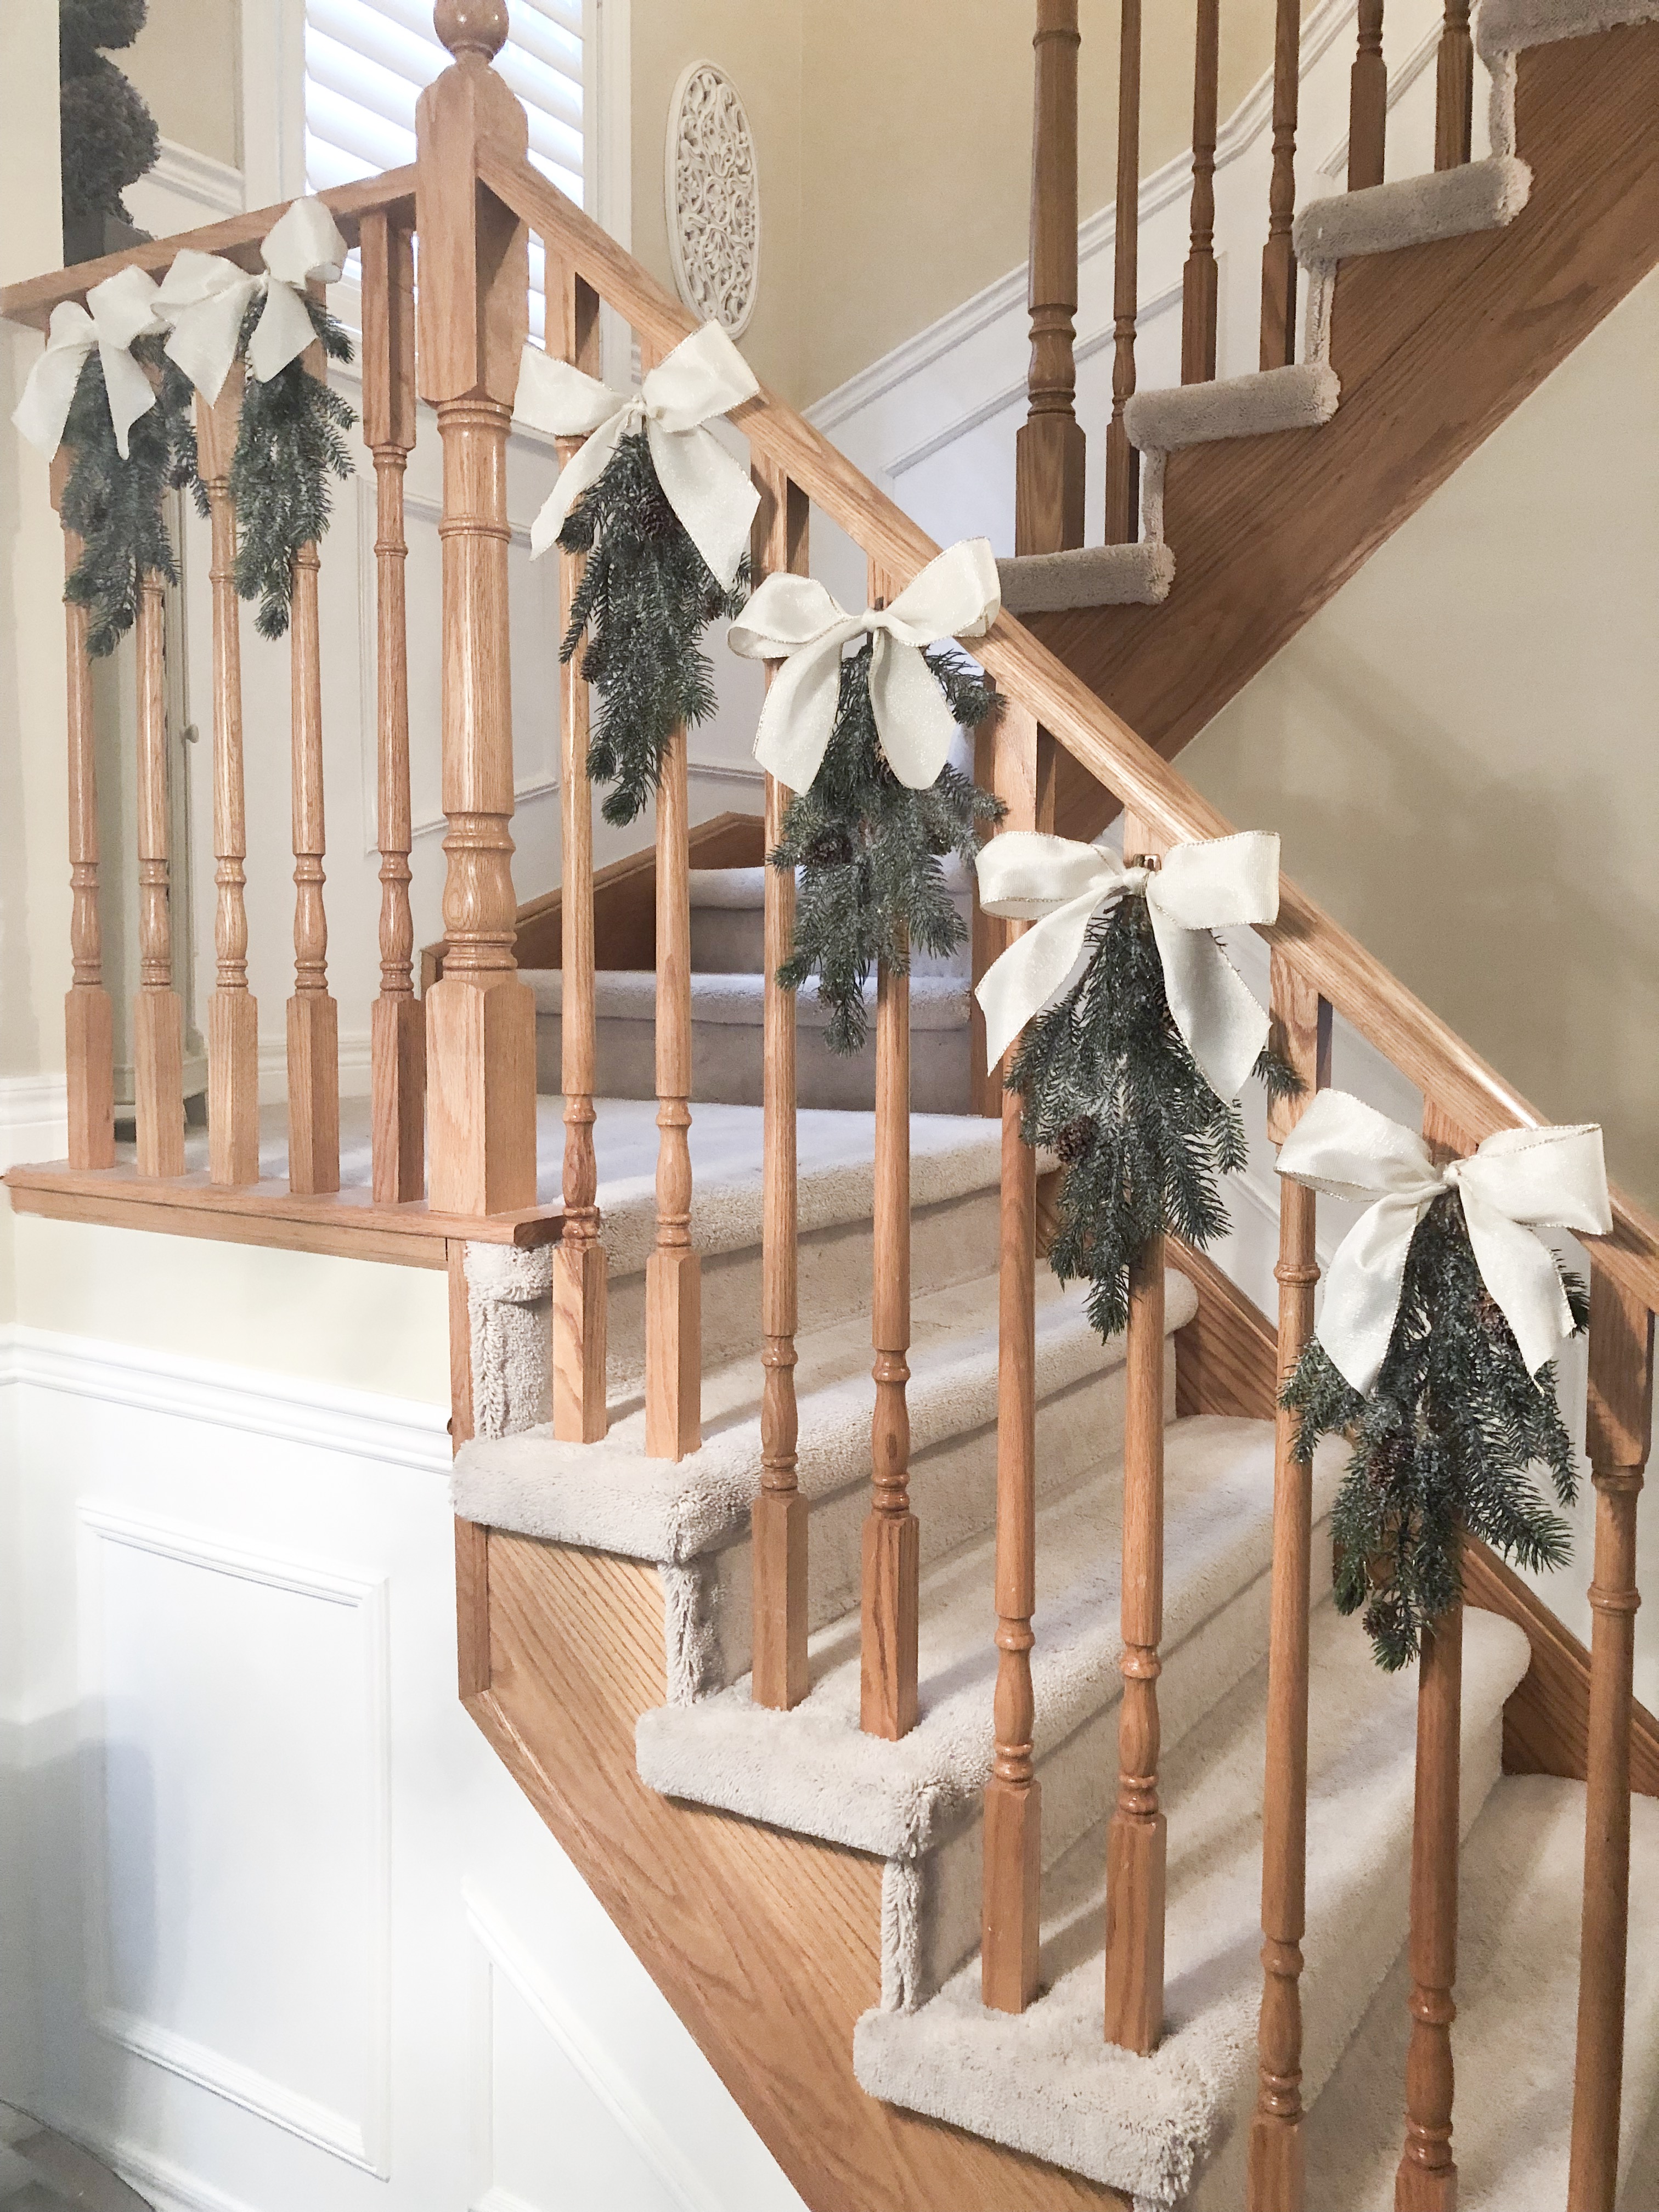
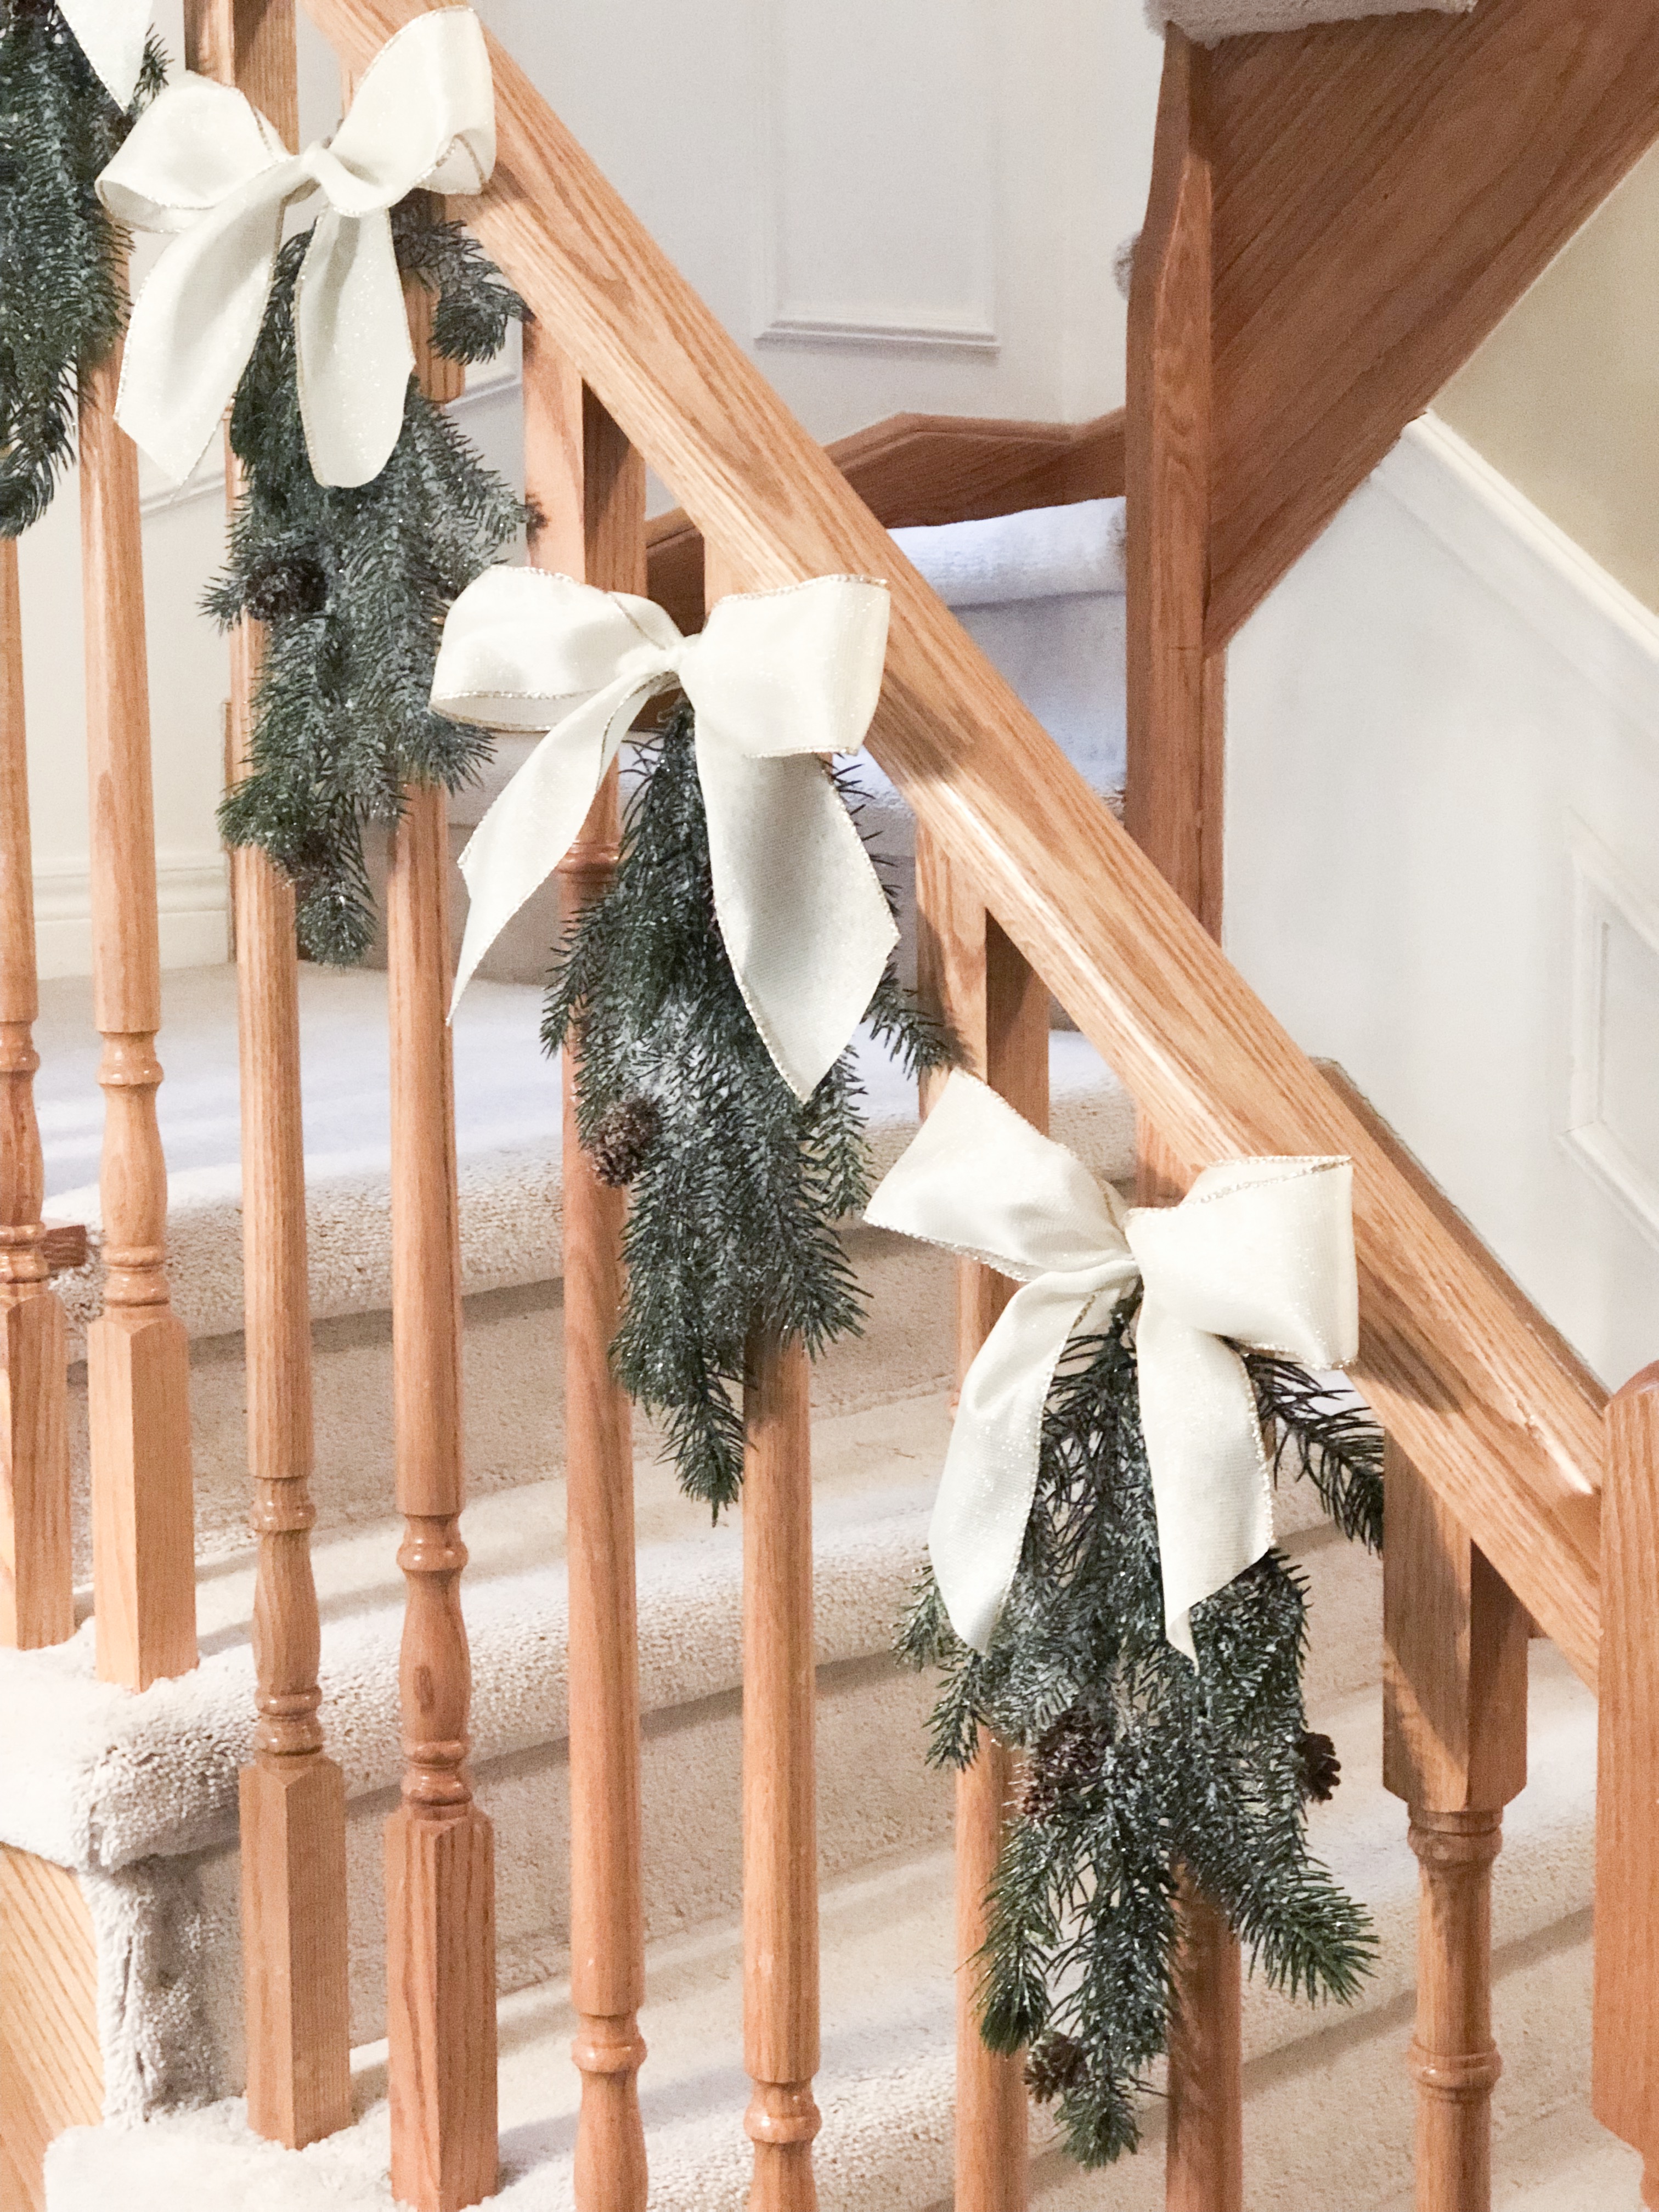
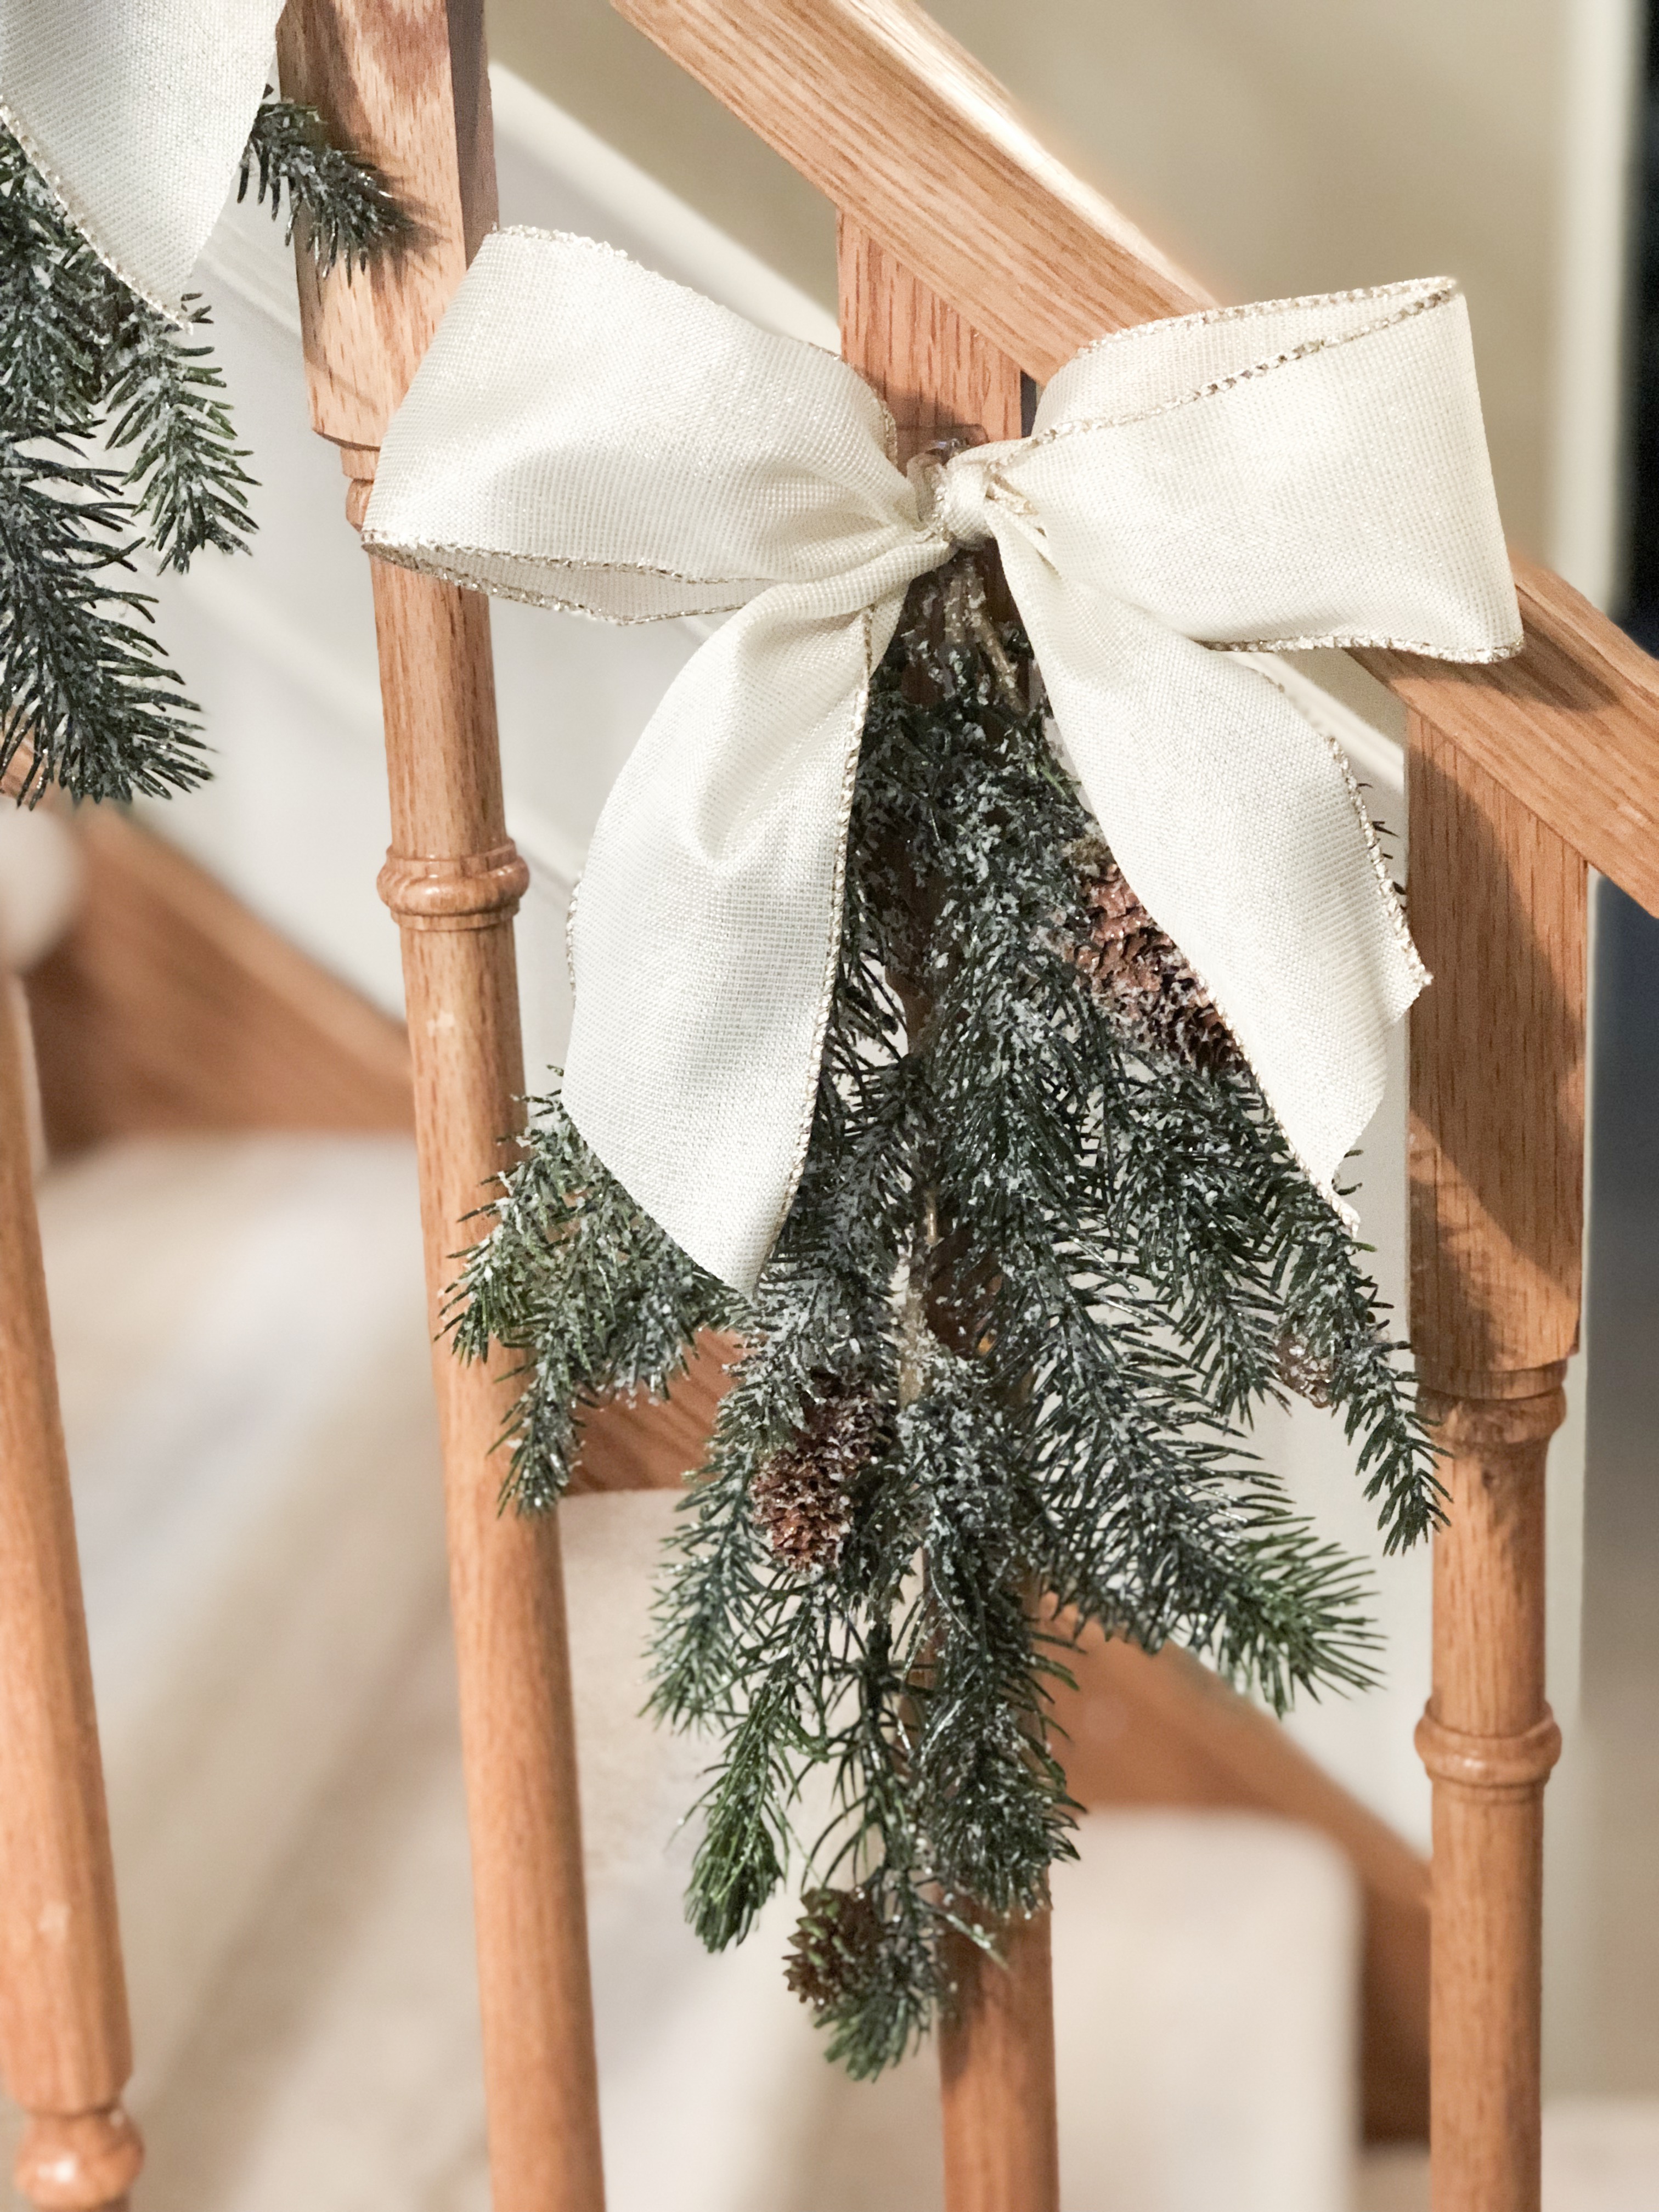
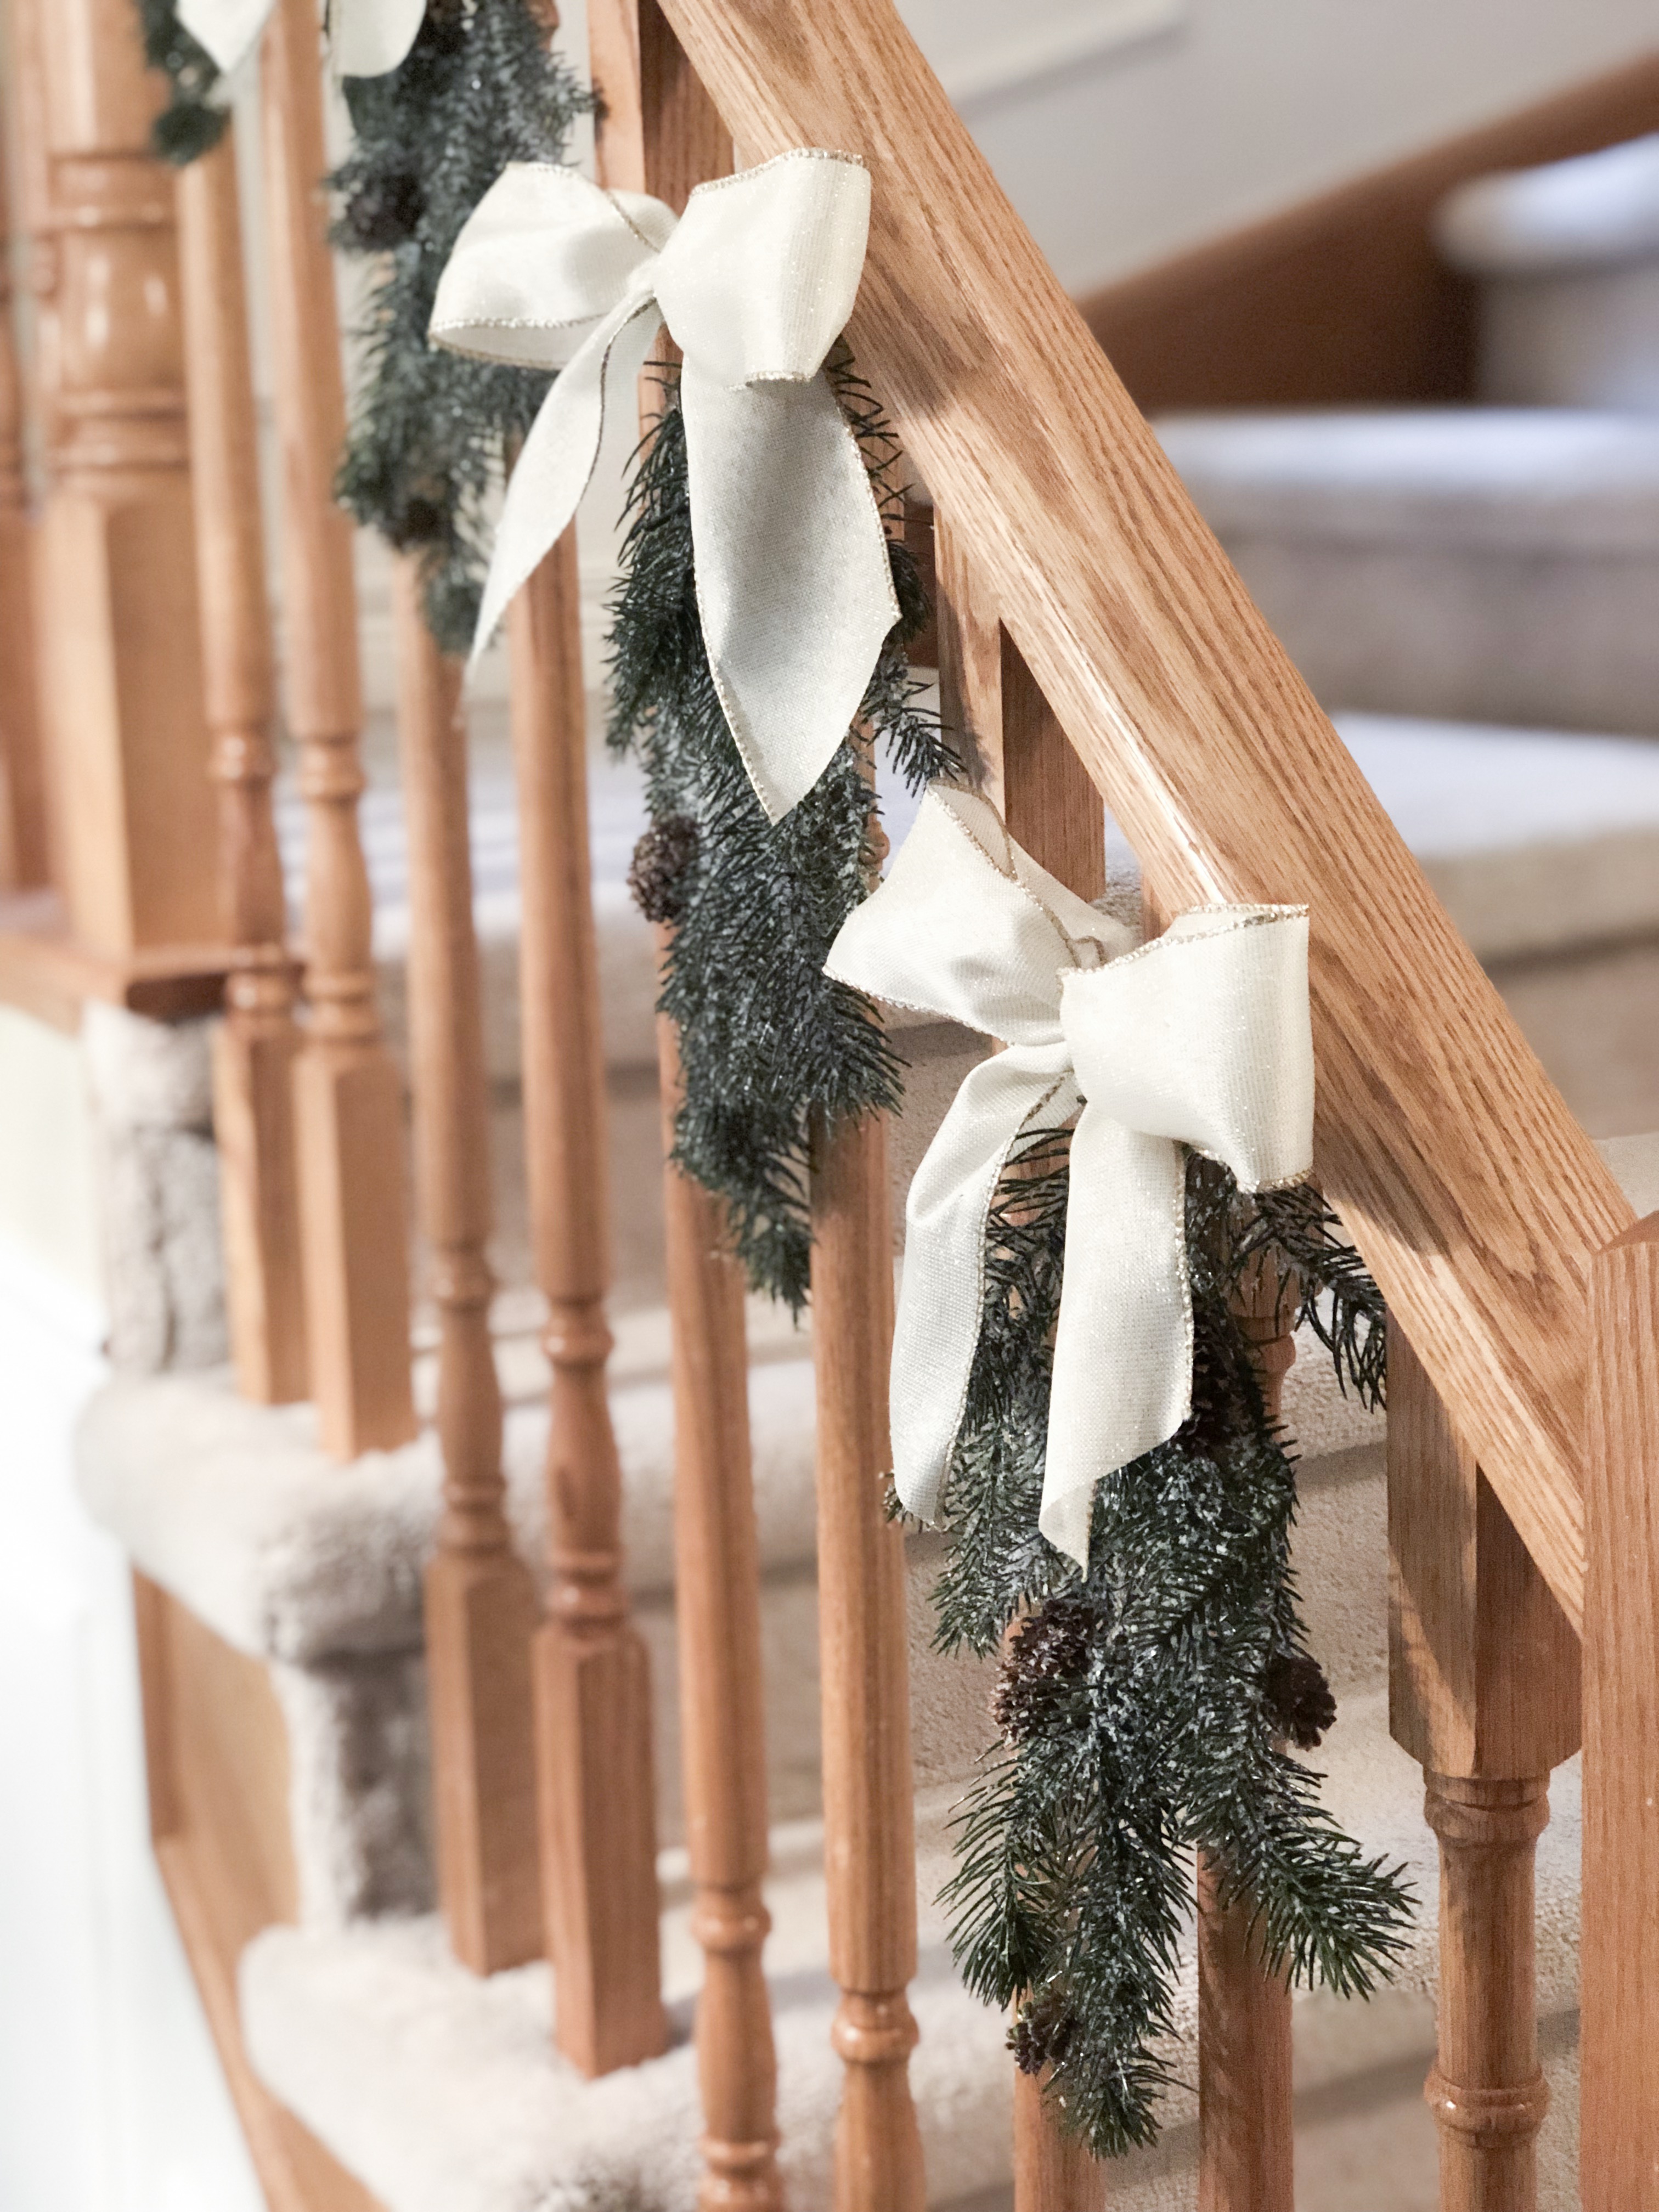
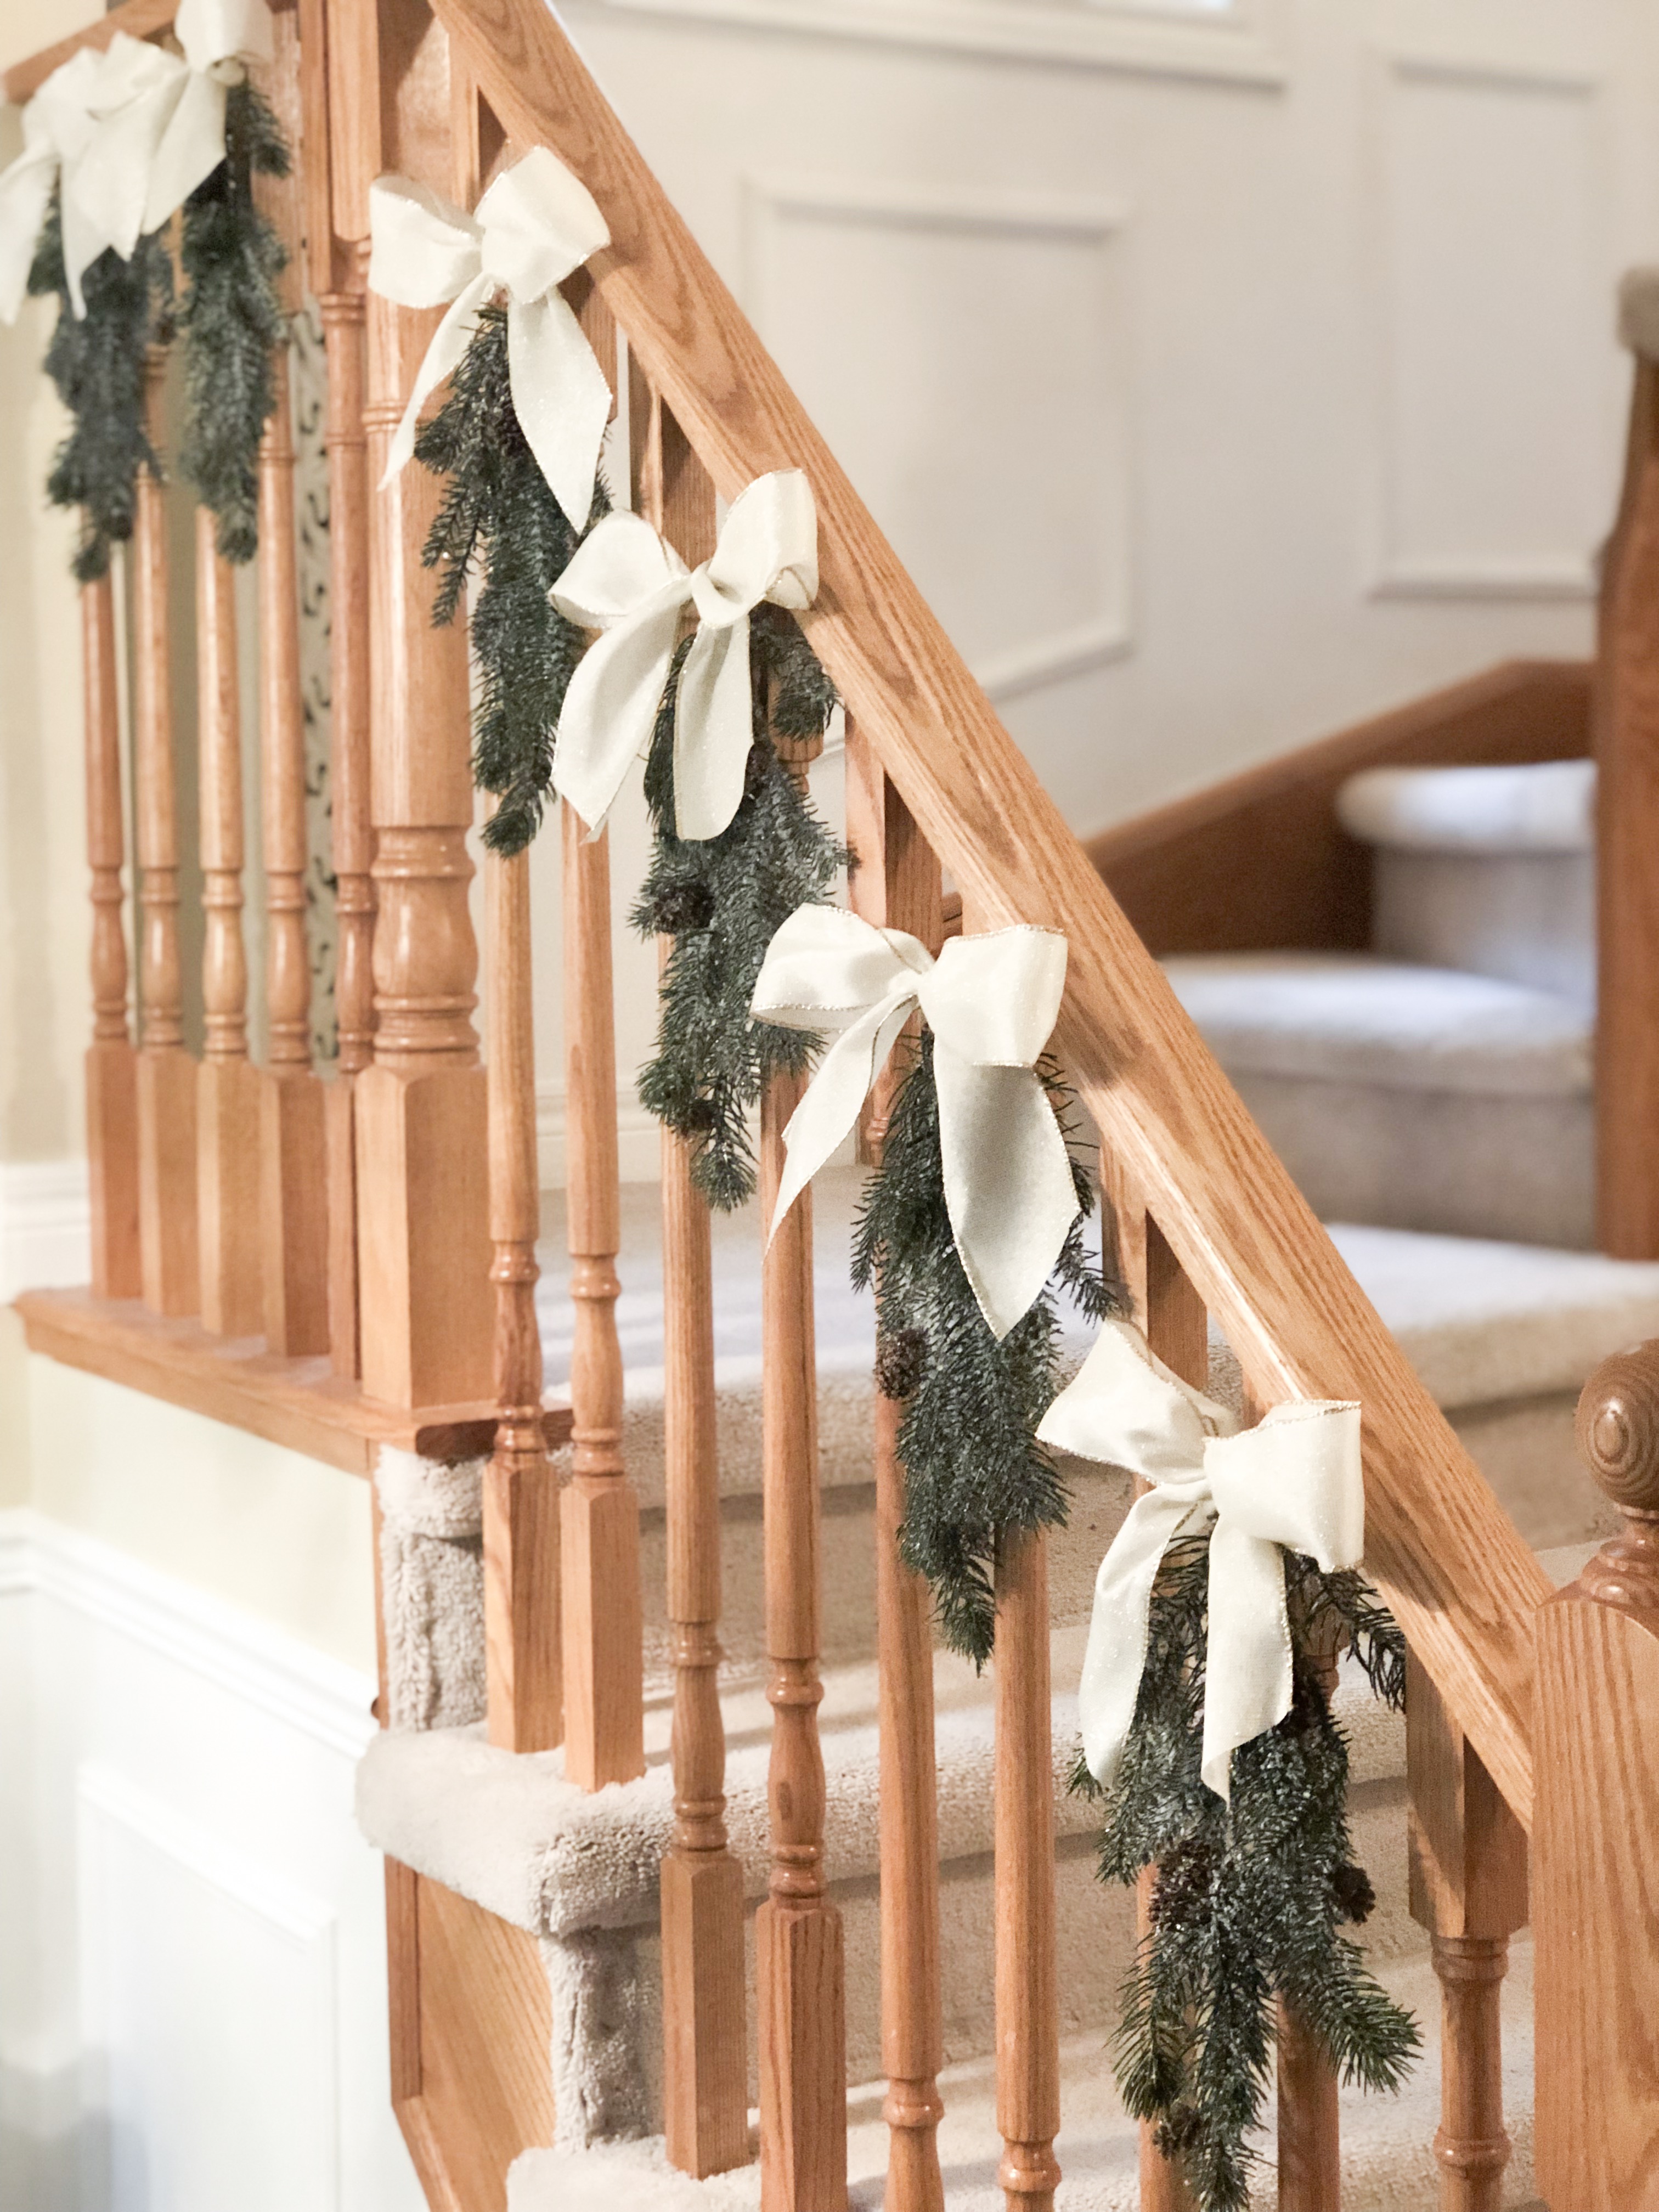
Here is a step by step tutorial on how I made this garland…
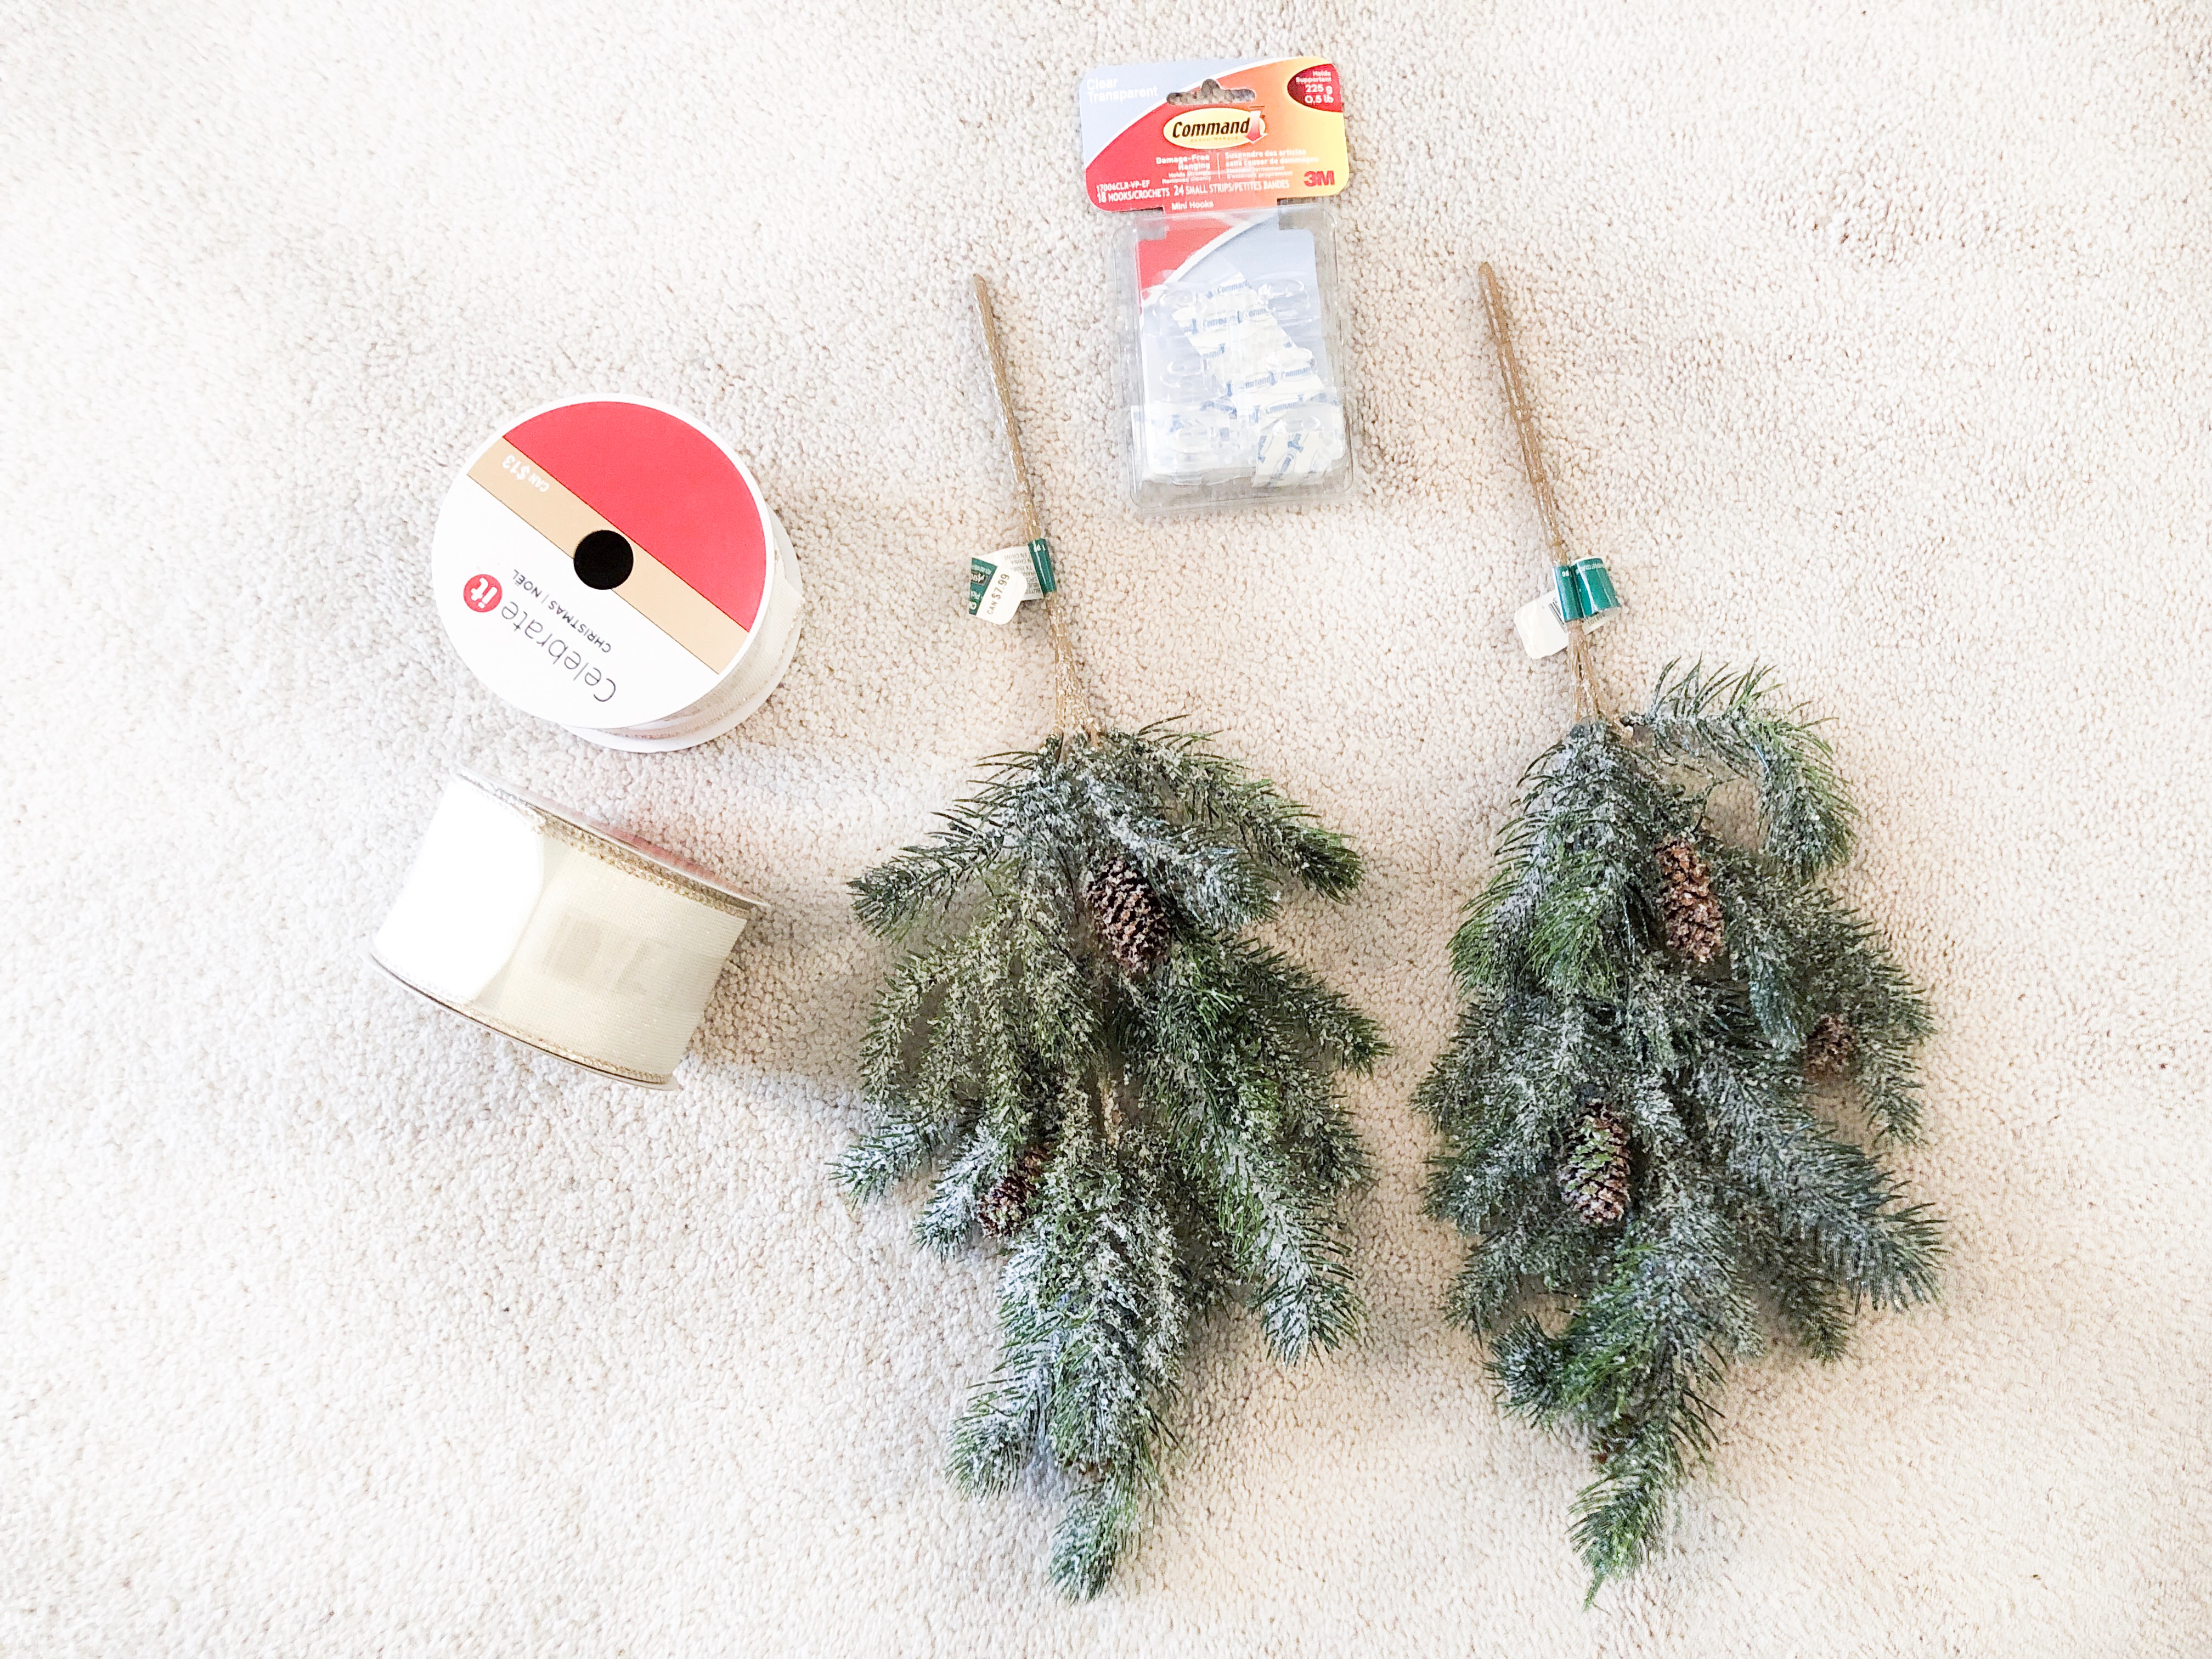
What you will need:
*Christmas Picks
*Wired Ribbon
* Garden pruners/wire cutters
*Command Hooks
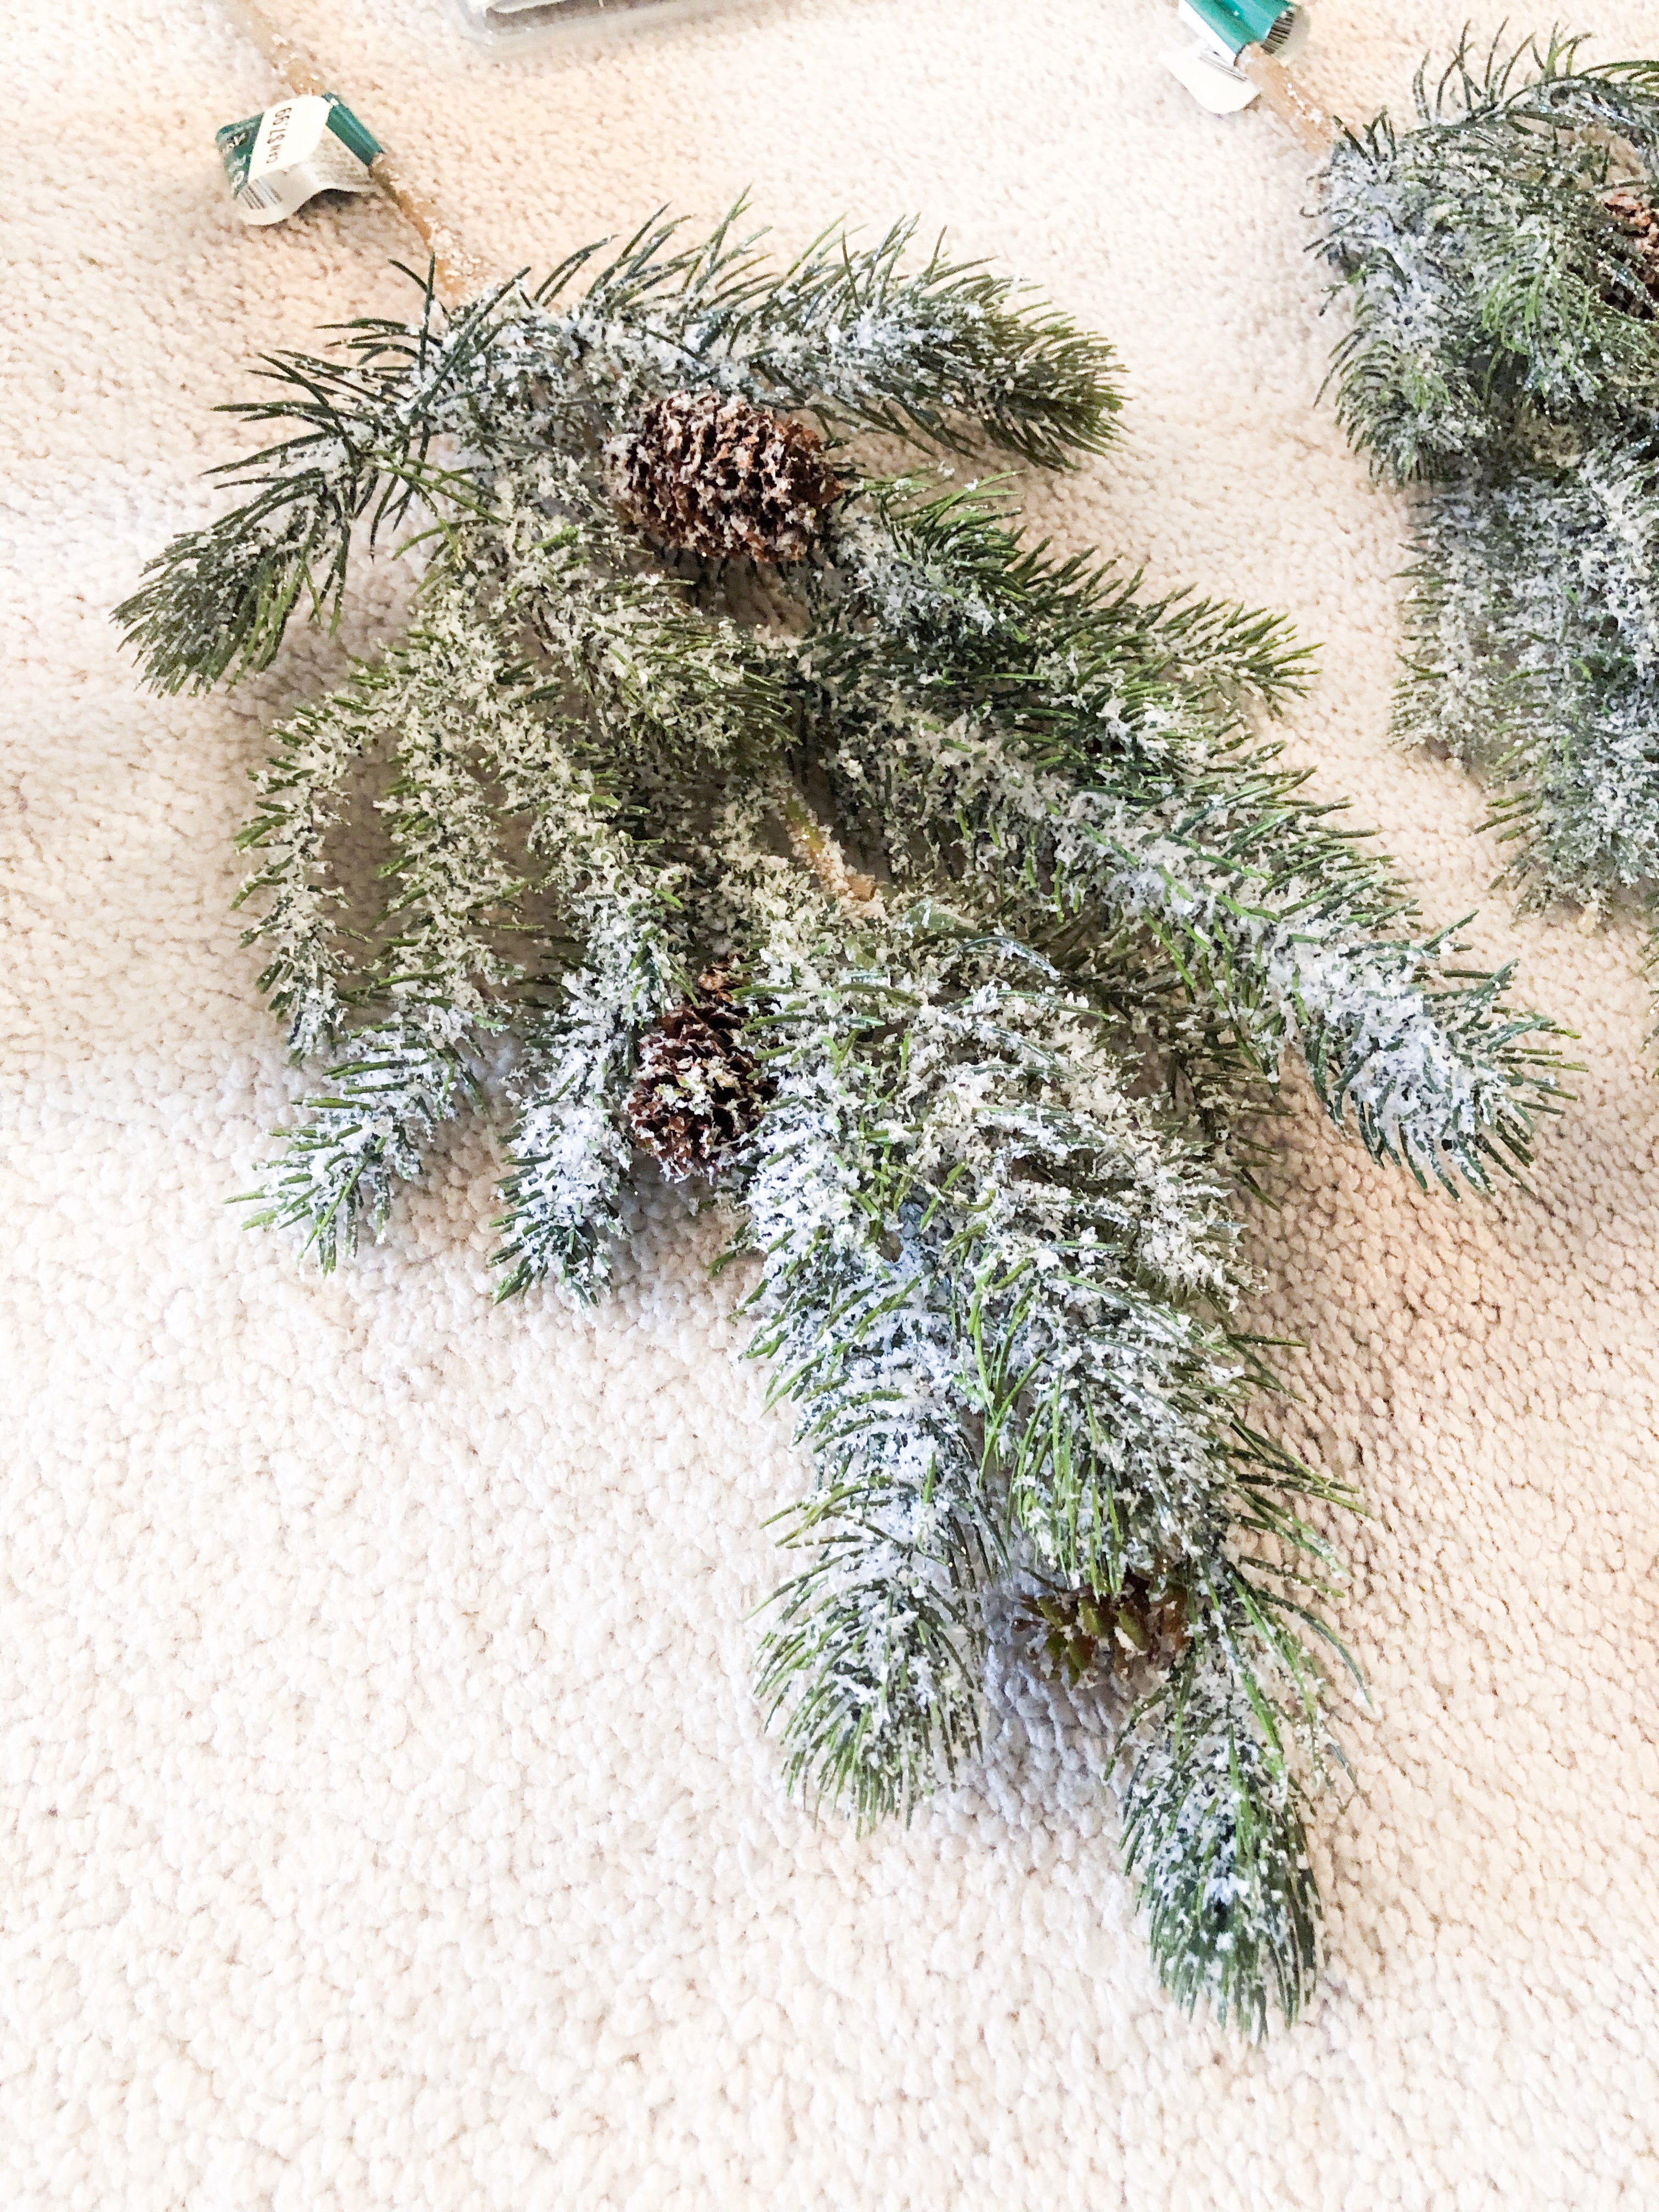
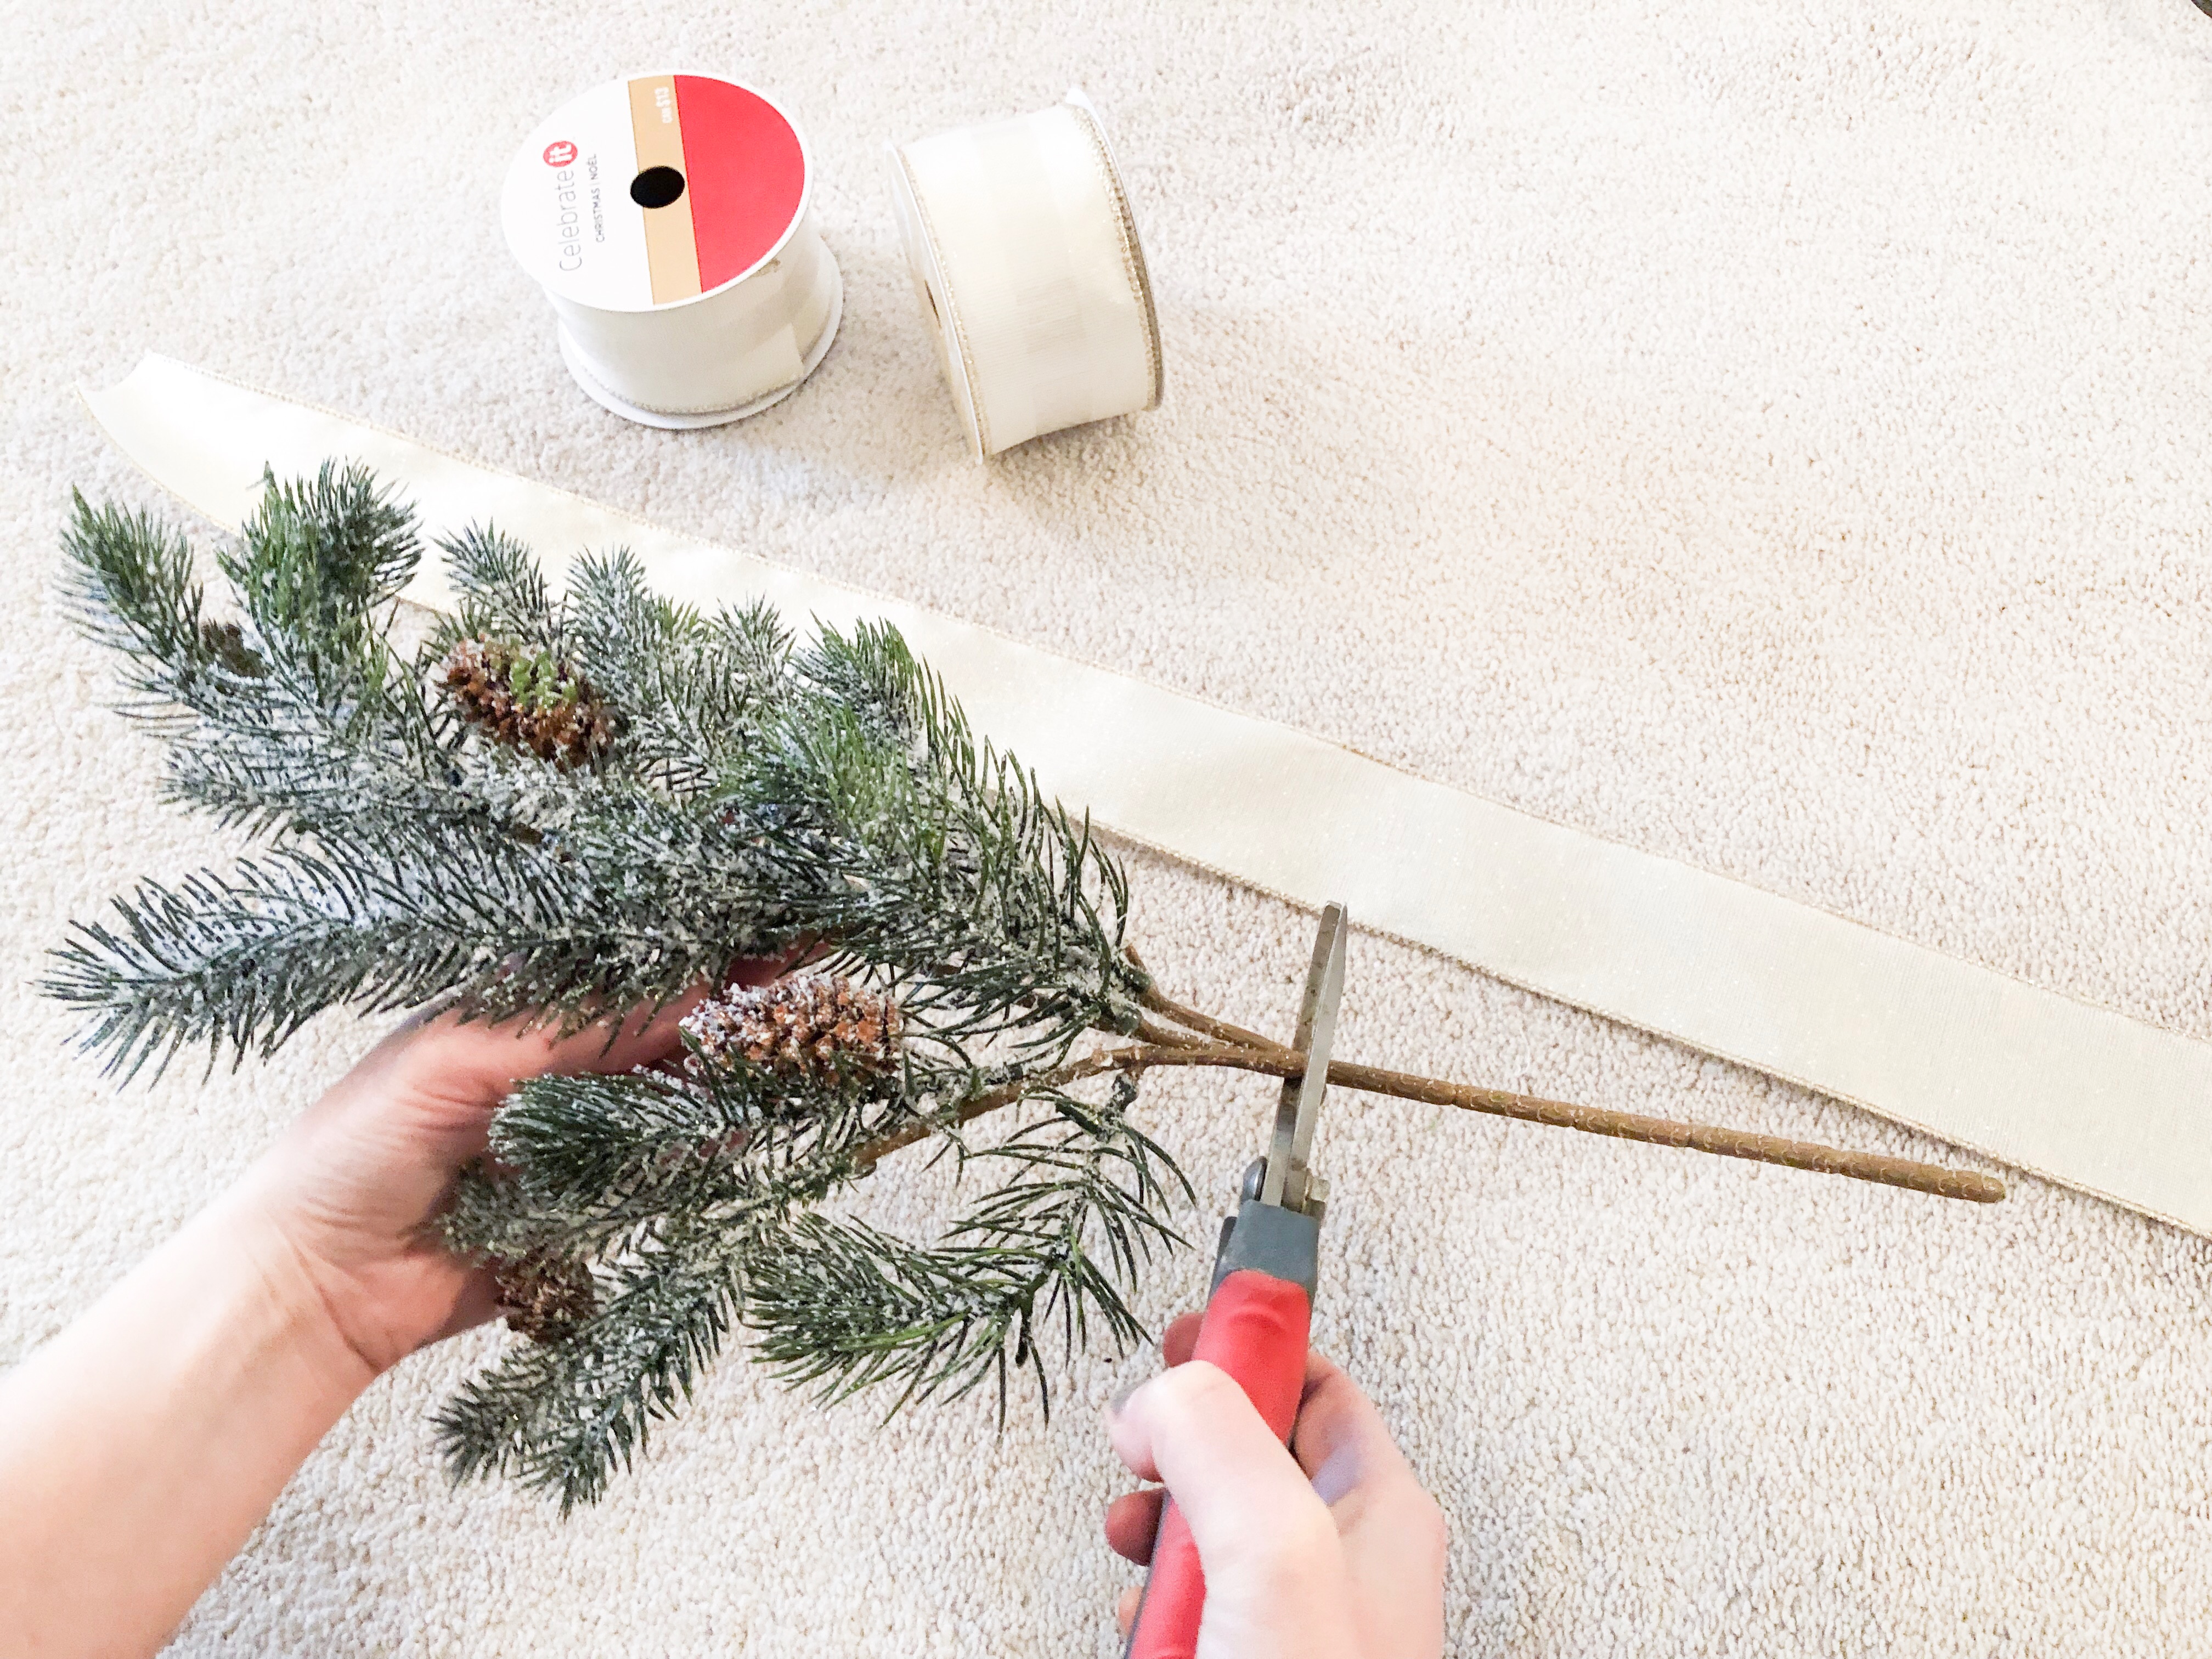
Step 1- Using a wire cutter, or garden pruners, cut the branch leaving about 1/2 inch at the bottom.
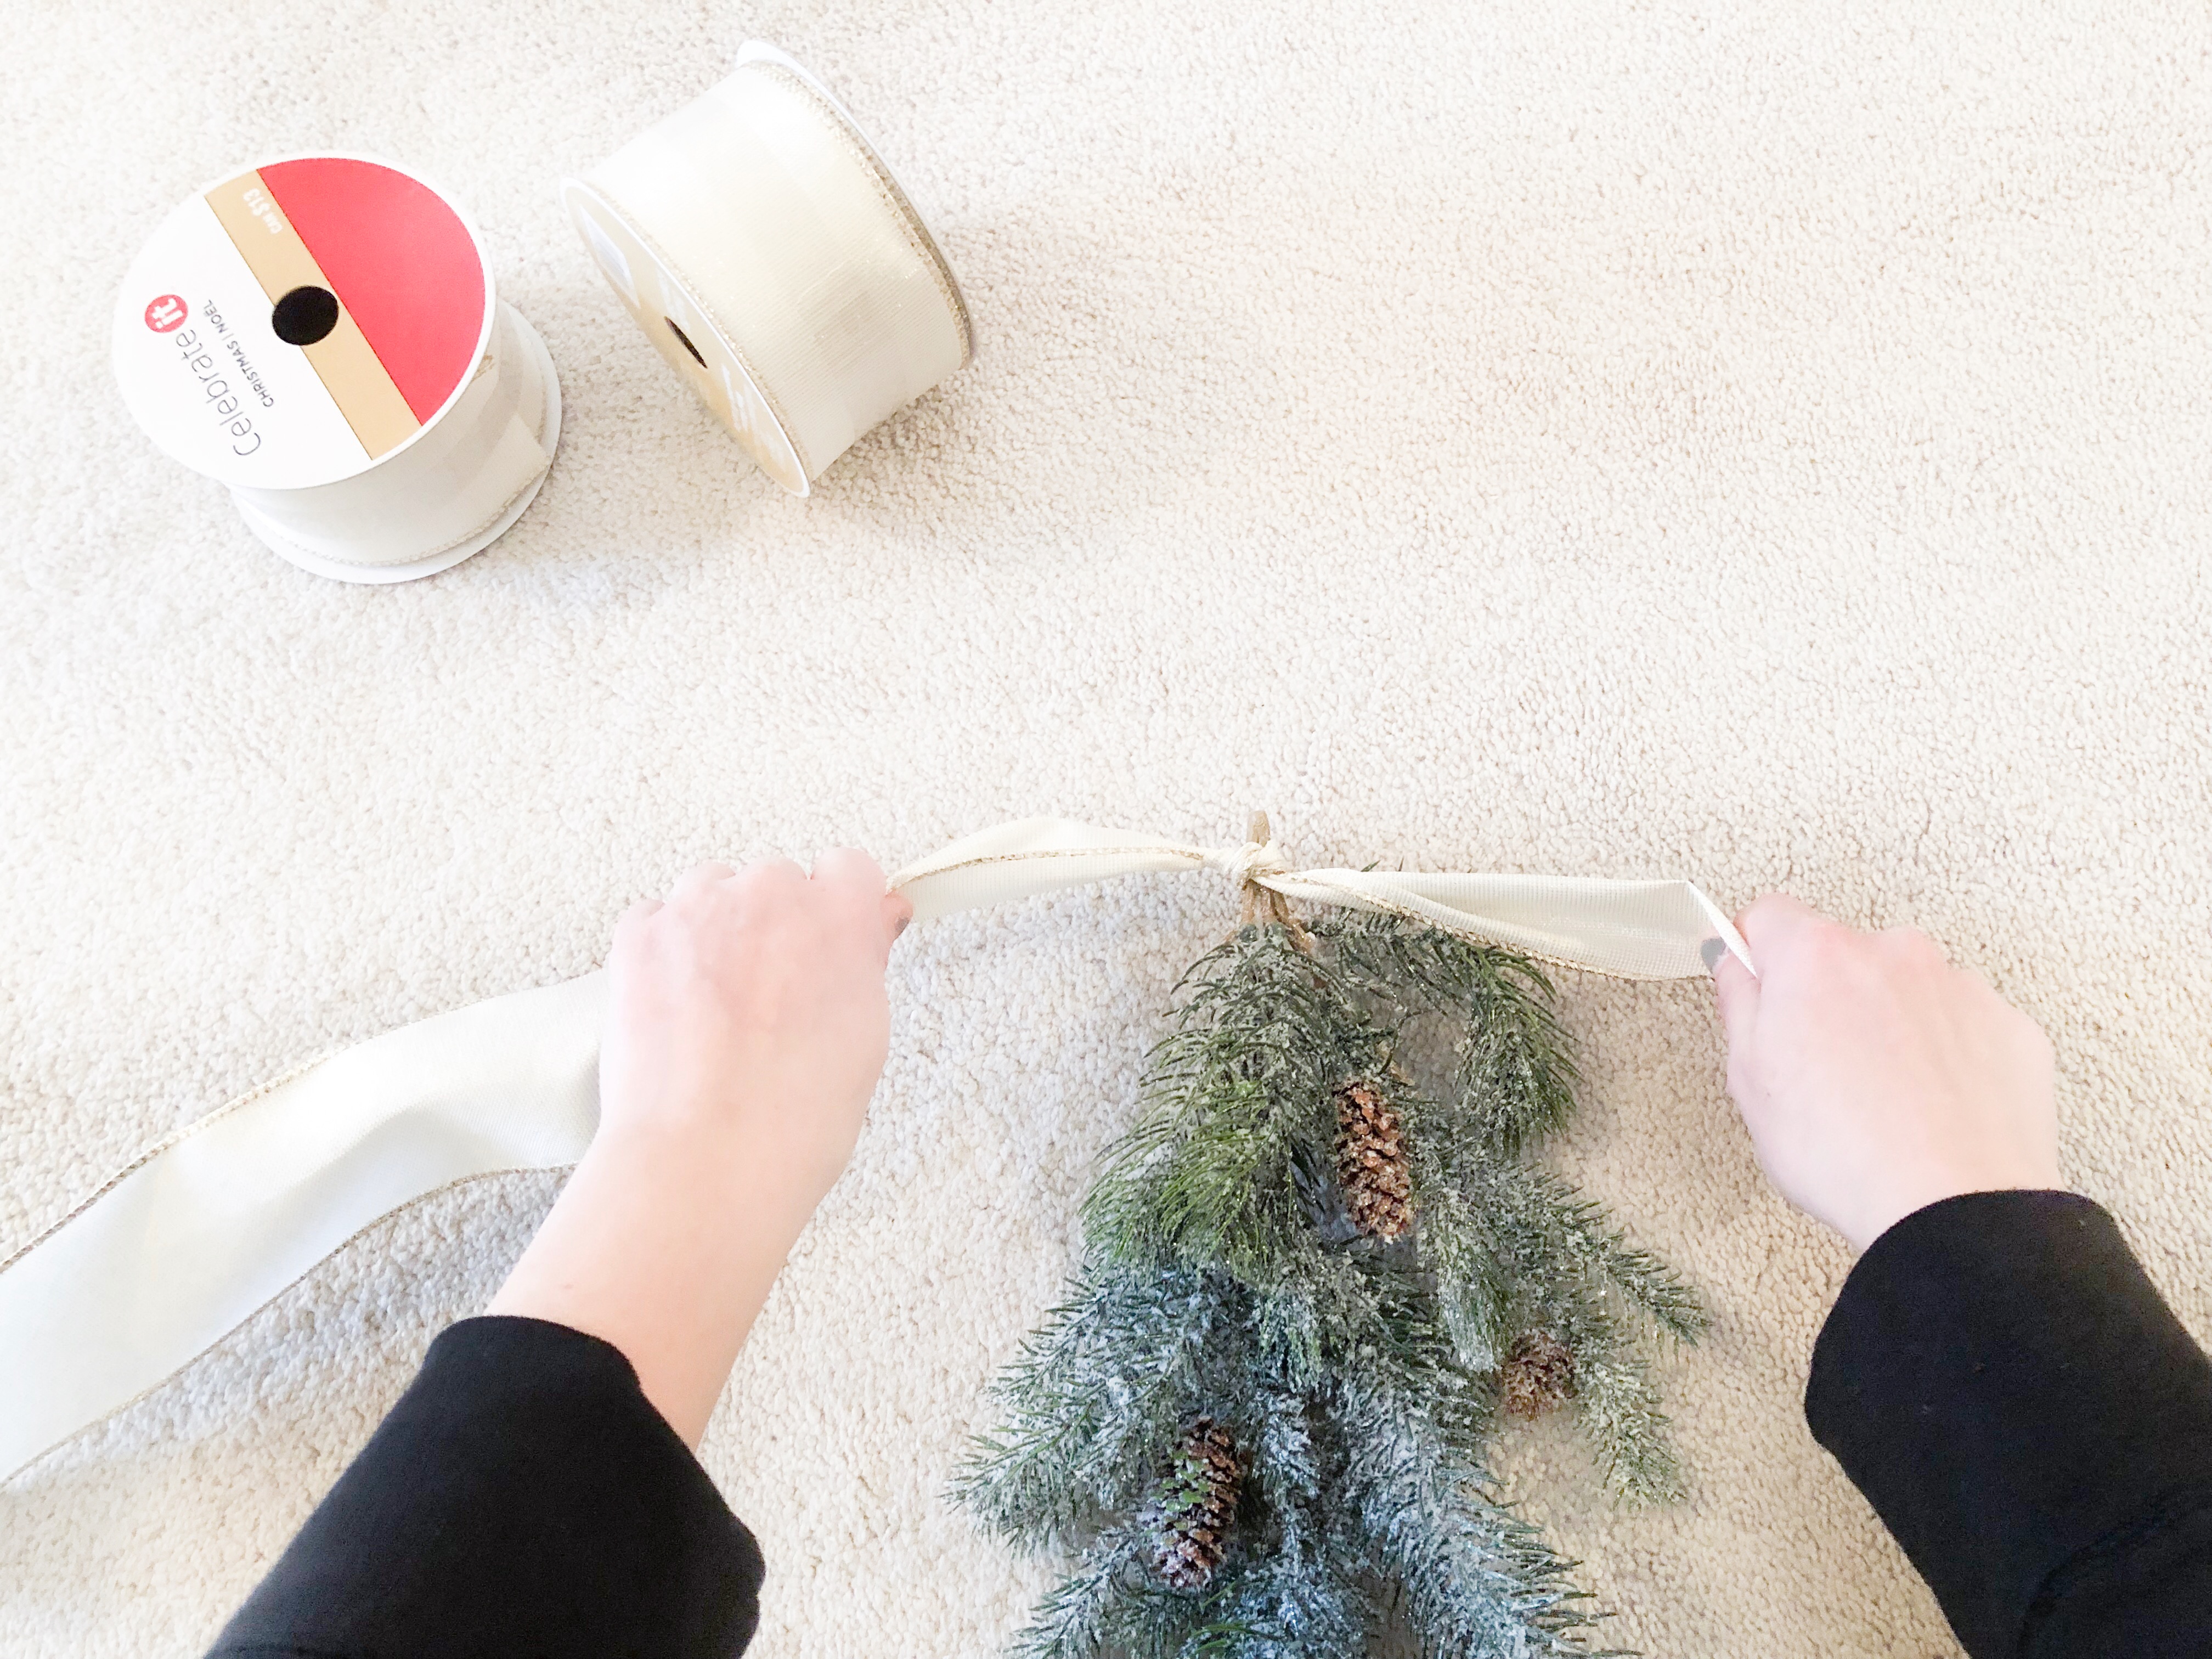
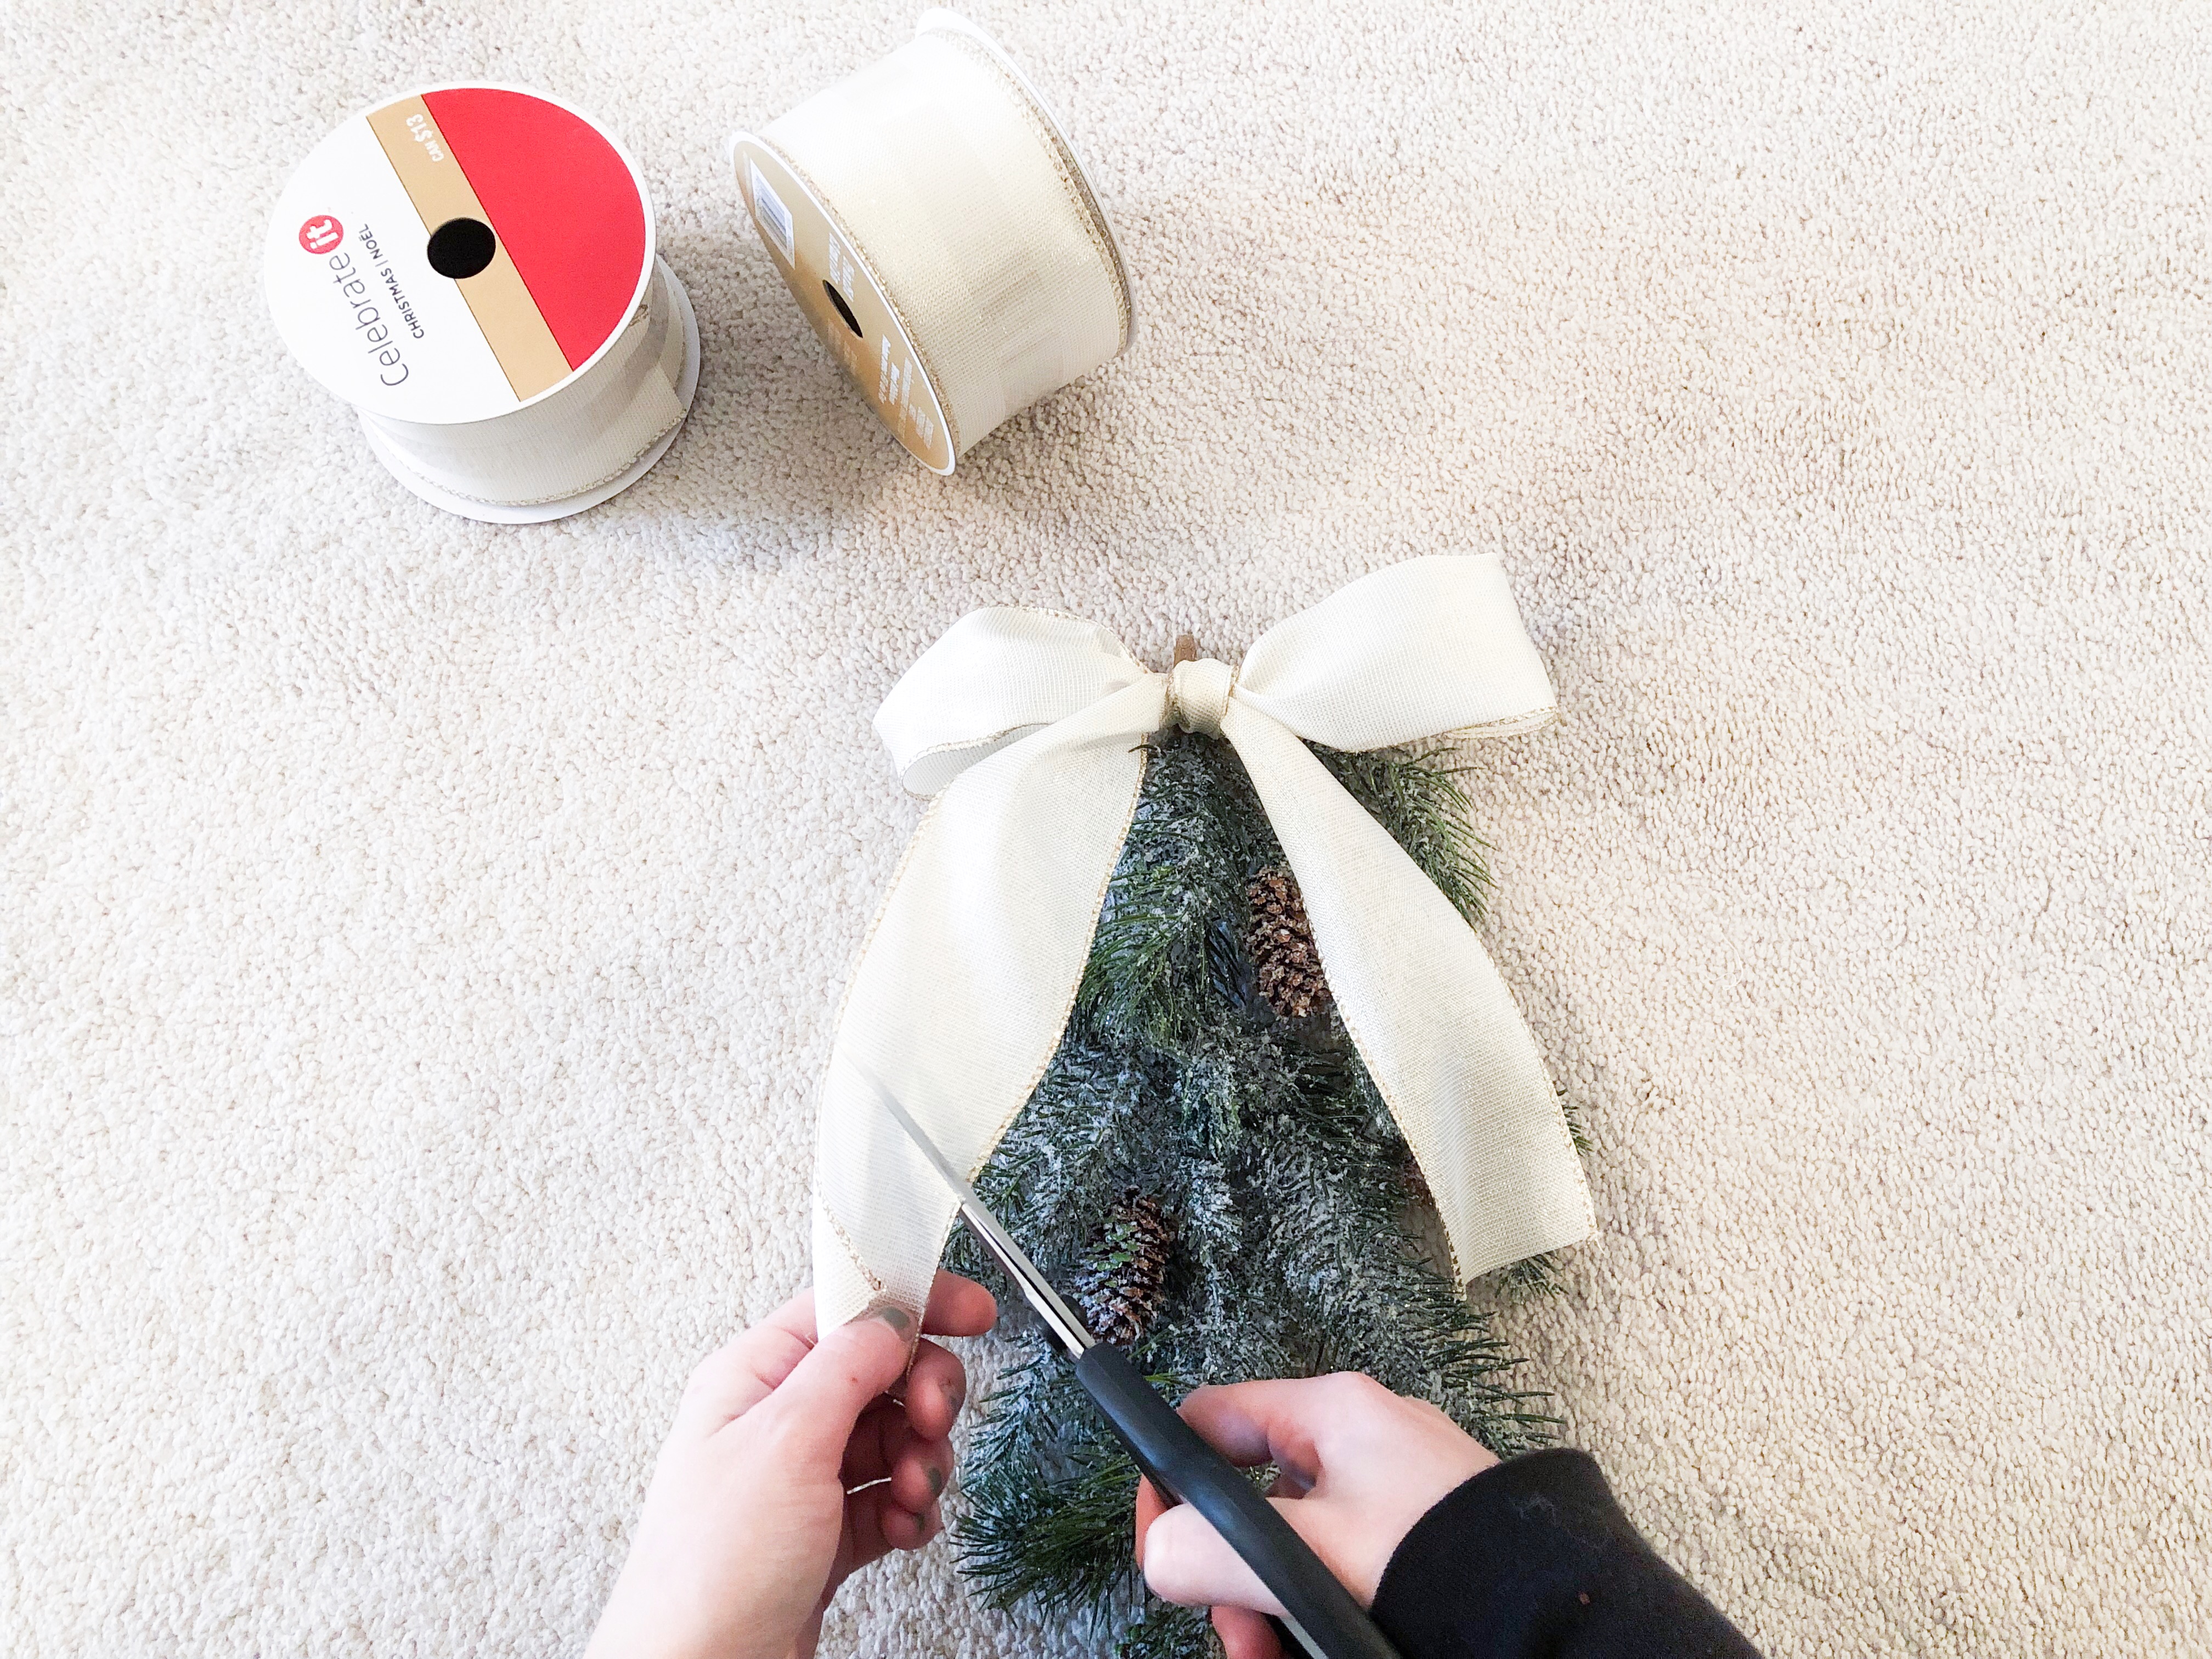
Step 2- Using whatever ribbon you like, tie a bow around the end of the branch. I used a 2 1/2 inch gold ribbon that was wired, so I could shape my bows easily. Then just trim the ends to your desired length.
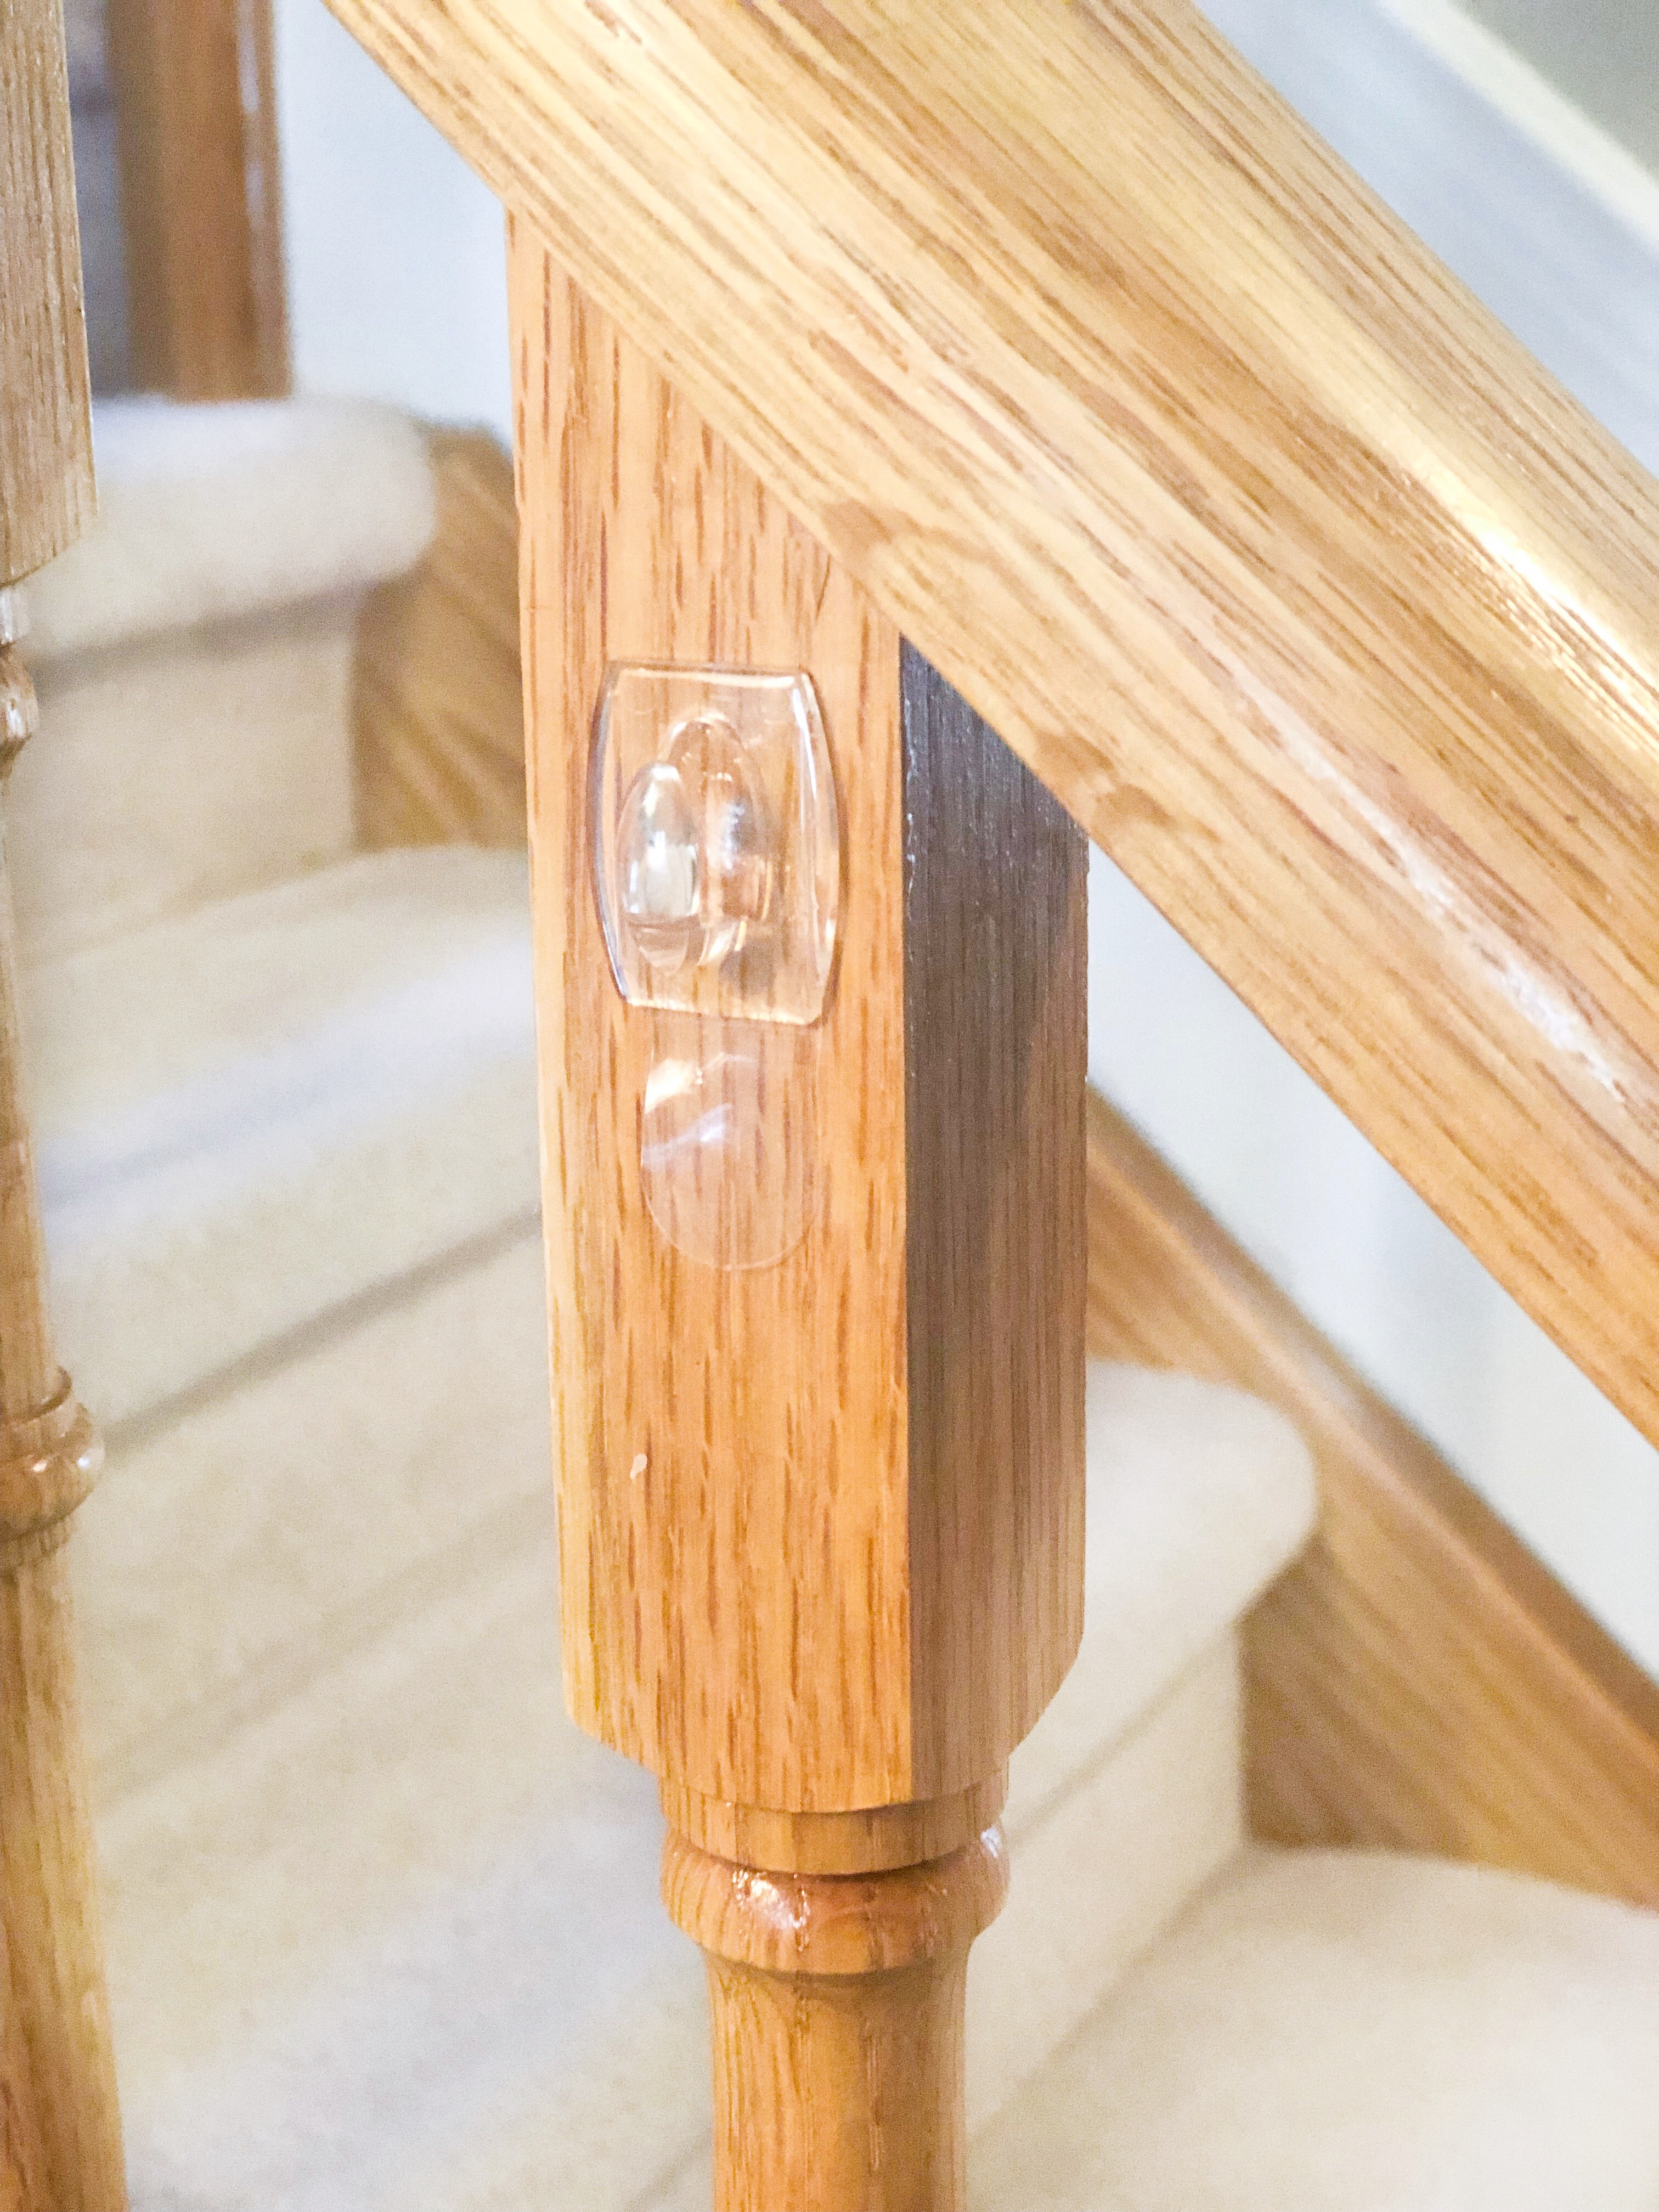
Step 3- Using Command Hooks, I added 1 to every other spindle. Then I just hooked the ribbon from the back of the bow on each hook. That’s it!


I hope you liked this tutorial. If you want to see more DIY’s on the blog, let me know!